Moving to Therasee from another system
A step-by-step plan for switching systems: what to download from your old one, importing clients by CSV, keeping old notes as files, recreating forms, moving appointments and inviting clients.
Updated 19 November 2026
Coming to Therasee from another practice system? You can import your client list in one go, keep your old notes and letters on each client's record, and rebuild your forms. This article sets out a plan for the move, in the order that causes least disruption for your clients.
Before you start: what to take from your old system
While you still have access to the old system, download:
- Your client list as a spreadsheet (CSV or Excel): names, emails, mobile numbers, dates of birth and addresses.
- Each client's notes as PDFs, plus any letters, reports, consent forms and completed questionnaires.
- Your blank forms (intake form, agreement, questionnaires) as PDF or Word documents.
- Your upcoming appointments from the day you switch onwards.
Keep these downloads somewhere secure: they hold your clients' personal and clinical information.
Step 1: Set up your practice first
Put the basics in place before any client hears from you, so the first confirmation or invitation they receive is already right:
- Add your services, with their length and price, in Settings, Practice profile, Services. See Setting up your services and prices.
- Set your weekly hours in Settings, My settings, Availability. See Setting your working hours.
- Switch on the client portal in Settings, Practice profile, Client Portal, but don't invite anyone yet. See Turning on the client portal.
Getting started covers the rest of the set-up.
Step 2: Import your clients from a CSV file
Use a computer: the import button isn't shown on phones and tablets. Importing is available on paid plans.
- Go to Clients and select the upload icon next to the + button (Import clients). The Add multiple clients page opens.
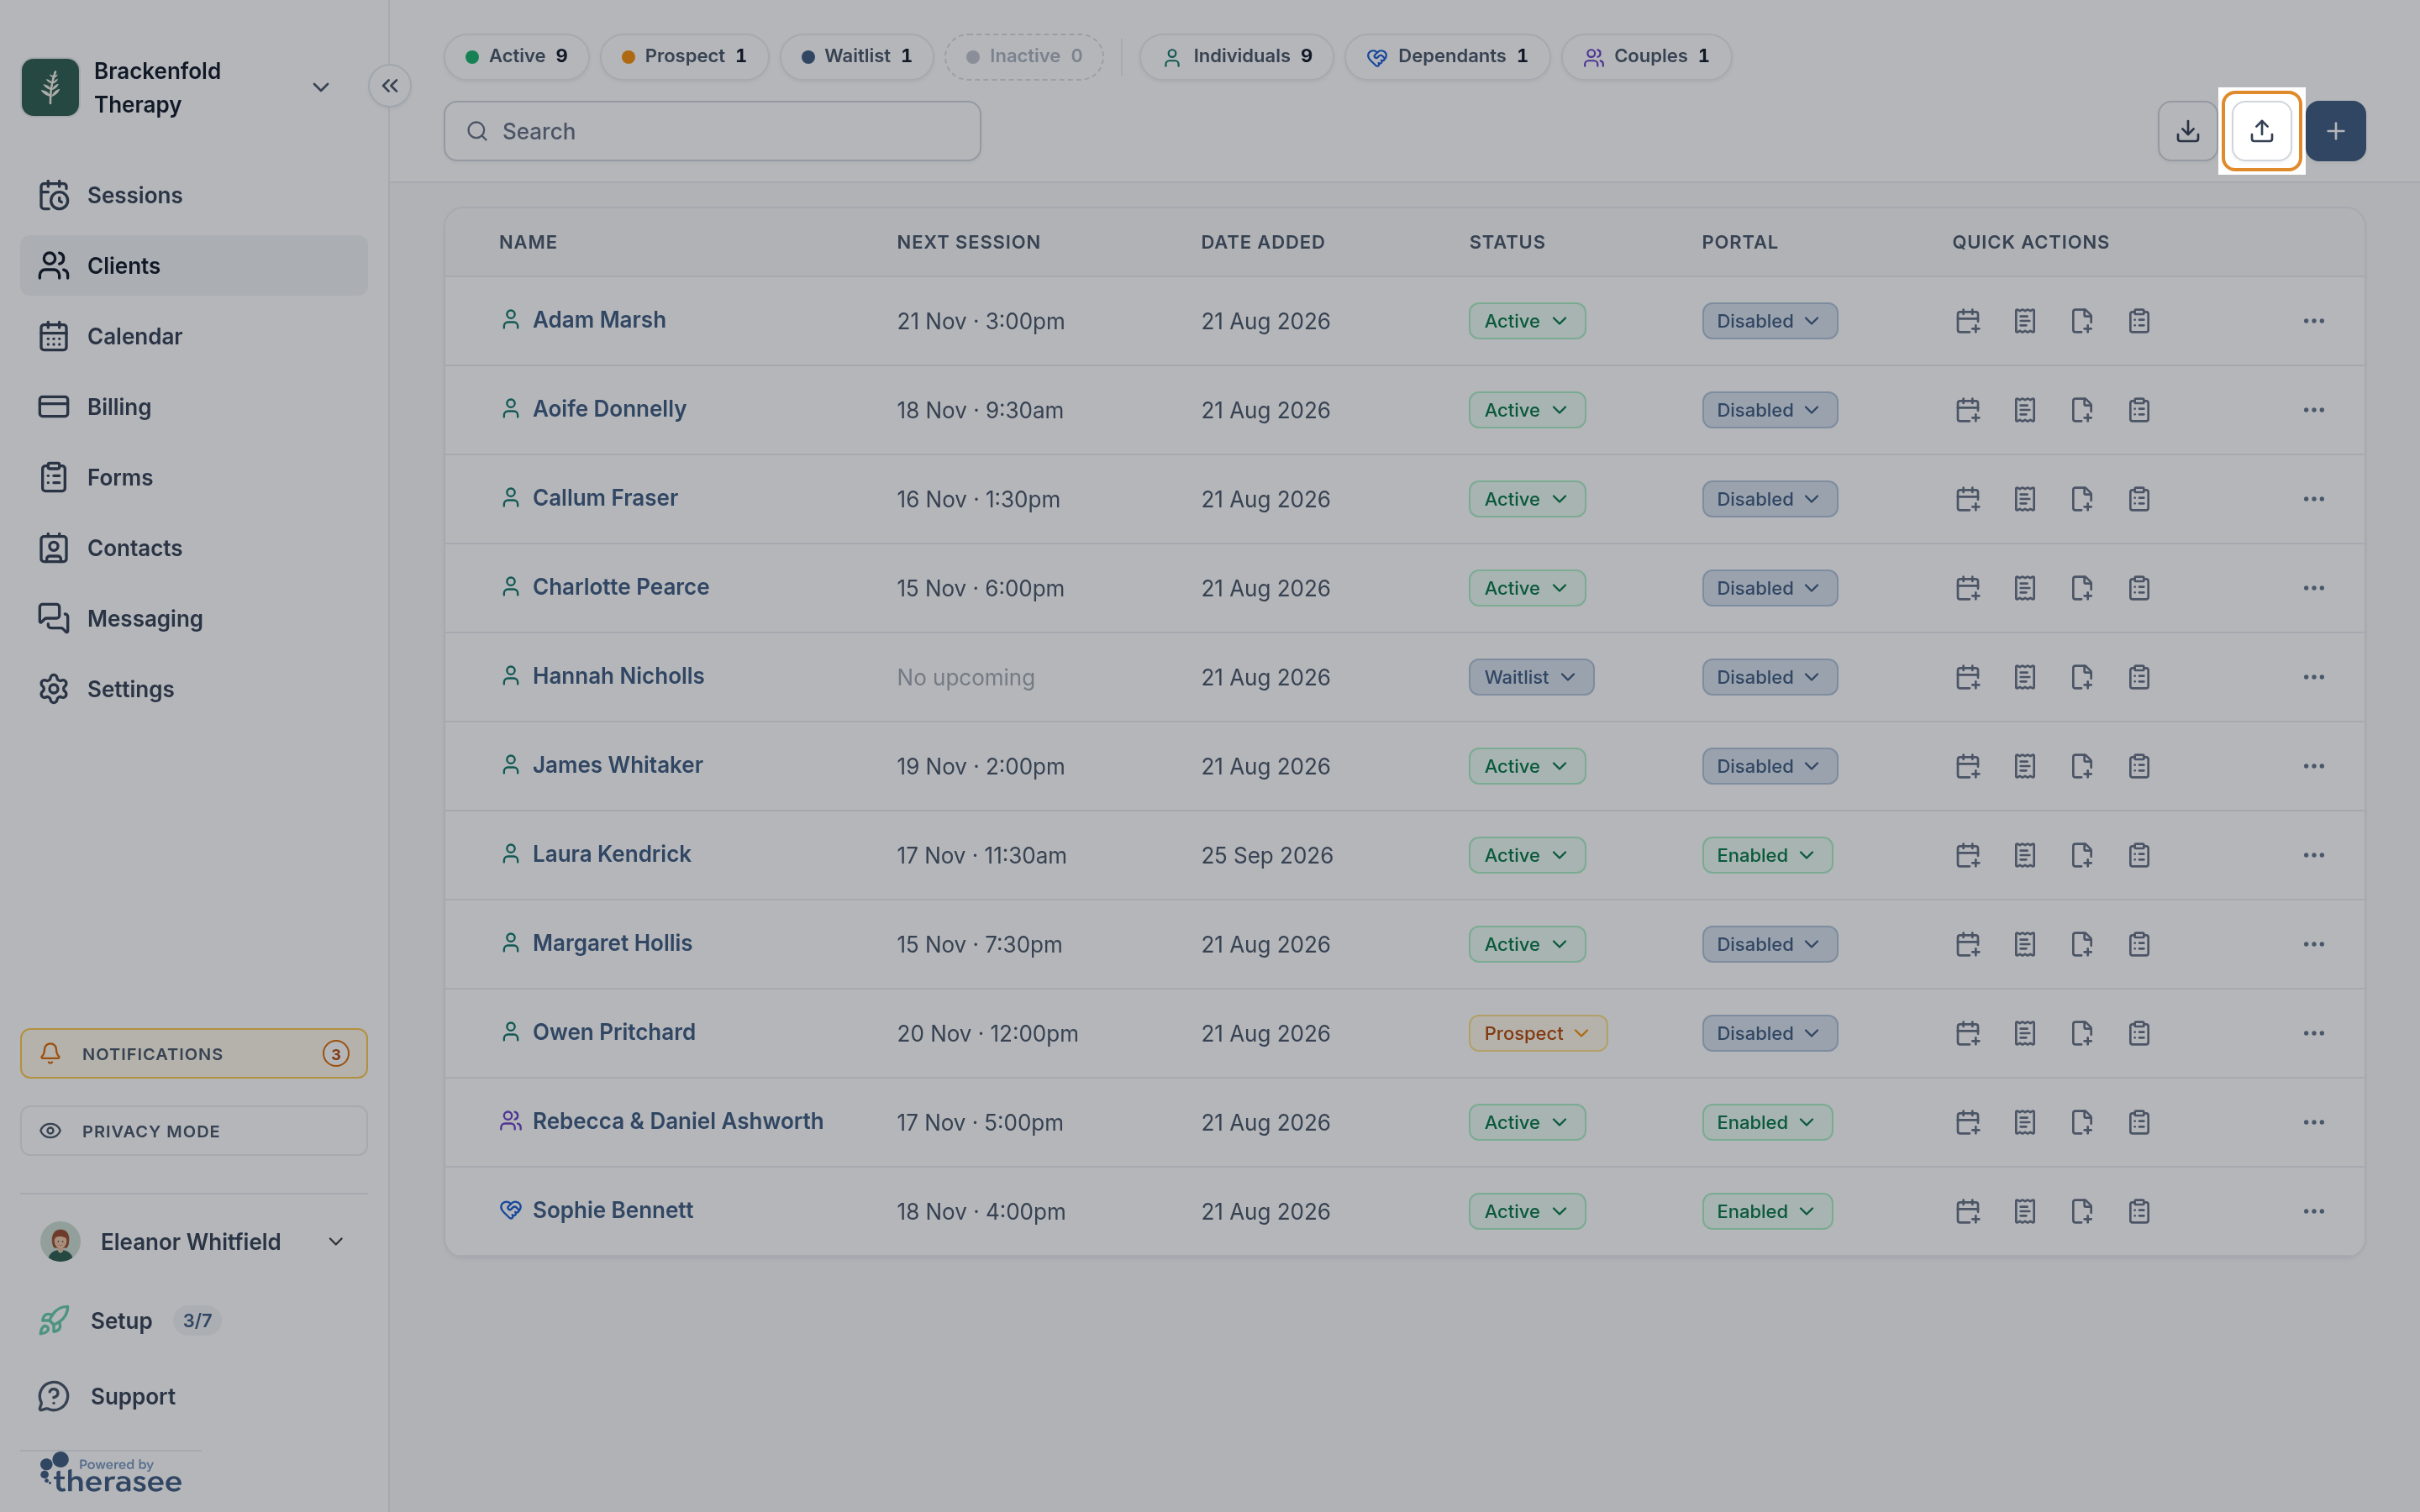
- Select Download CSV file to get the sample.
- Open it in a spreadsheet program and paste in your clients, one per row, under the matching headings (rules below).
- Save it as a CSV file (in Excel, CSV UTF-8 (Comma delimited)).
- Drag the file onto the upload box, or select Click to upload, then select Upload.
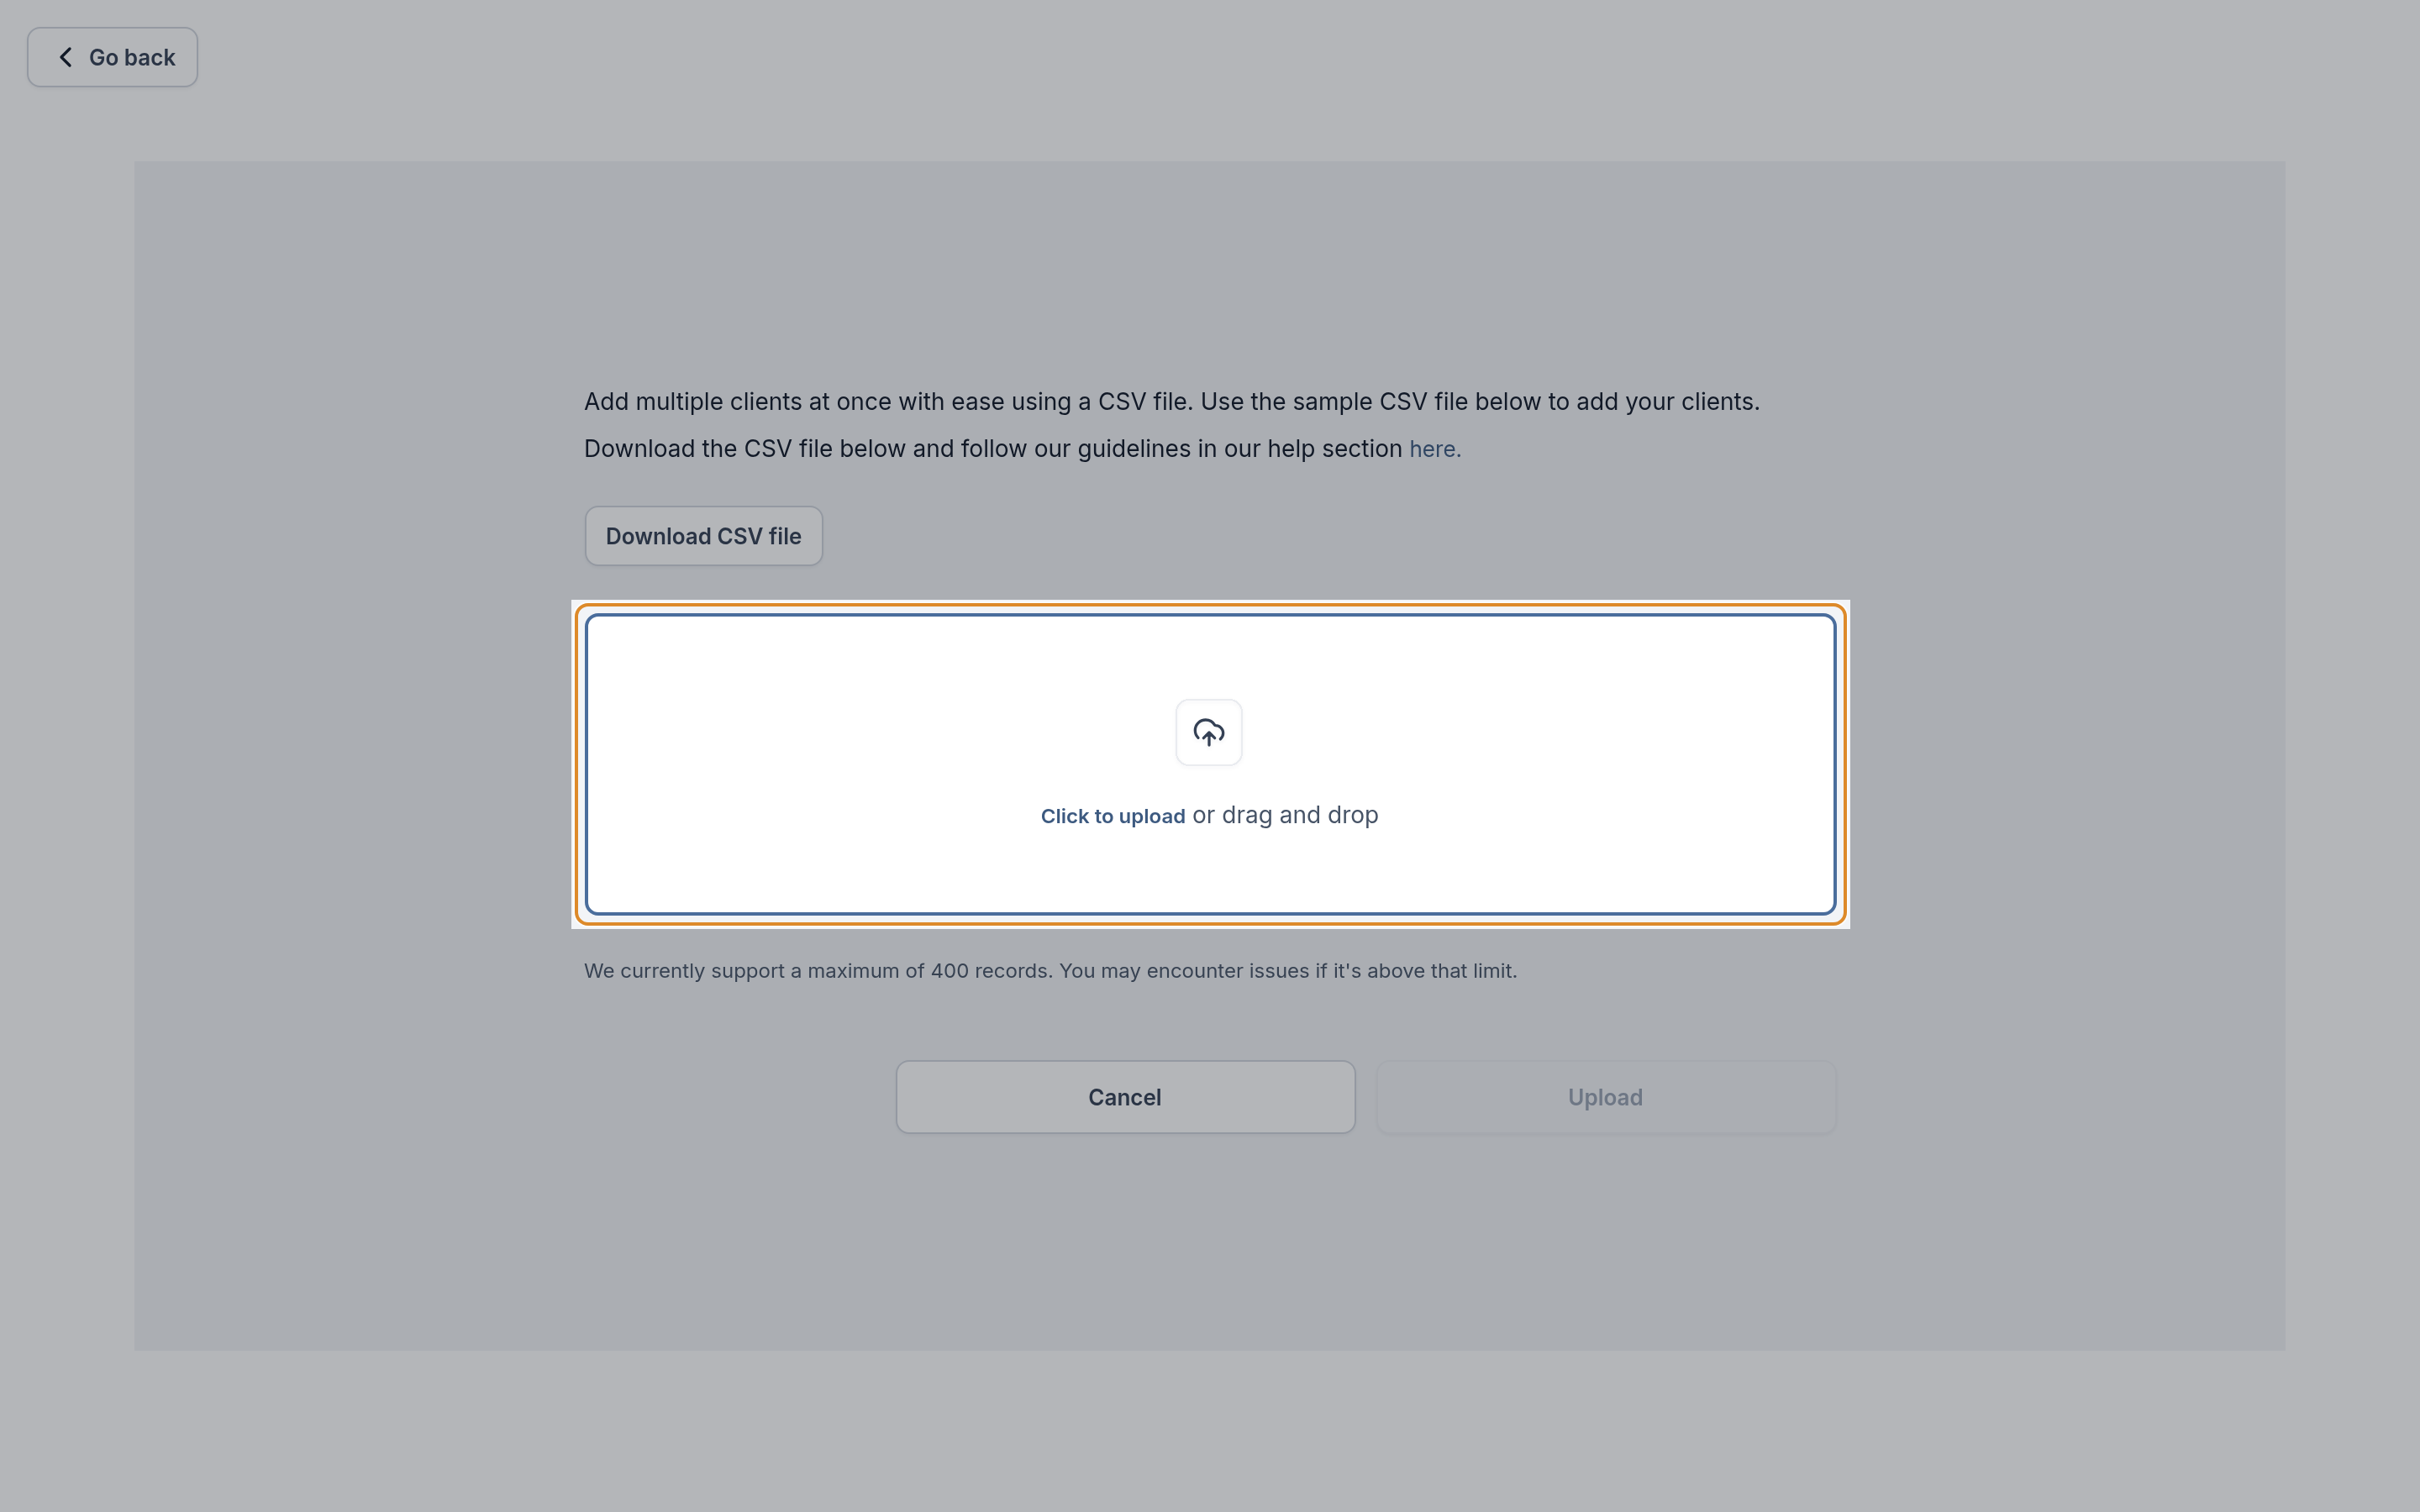
The columns and their rules
The file must have exactly these 12 headings and no others: First Name, Last Name, Address Line, Town, County, Postal Code, Date of Birth, Email, Phone Number, Gender, Send Invite and Status. Delete any extra columns from your old system's export, such as notes or client IDs. Every cell except the names can be blank.
- First Name and Last Name: required. Letters, spaces, hyphens and apostrophes are accepted.
- Date of Birth: DD/MM/YYYY, for example 07/03/1985.
- Phone Number: with the country code, for example +44 7700 900123 or 447700900123. A number starting 07 isn't accepted. If your spreadsheet turns long numbers into something like 4.48E+11, format the column as text first.
- Gender: Male, Female, or any other description, which is kept as written.
- Status: Active, Prospect or Inactive; blank means Active. You can move people to Waitlist from the client list afterwards.
- Send Invite: Yes or No. Yes emails a portal invitation as the client is imported, and needs an email and a phone number on that row. For a move, No is usually best, so you can invite people after telling them about the switch (Step 6).
Each email and phone number can appear only once in the file, and not on a client you already have, so the same person can't be added twice. You can import up to 400 clients at a time; split a longer list into several files and import them one after another.
Importing creates individual clients. Add dependants and couples with the + button so their adults and partners are linked. See Adding a client, Working with dependants and Working with couples.
Checking the upload
- On Review your upload, open the Needs your review tab. Each row says what to fix, such as Invalid phone number, Invalid date of birth or Email already exists. Edit or delete those rows, then select Save changes & refresh.
- Select Continue. If rows still need attention, Skip errors and continue adds everyone else; add the skipped clients one at a time later.
- At Upload complete, select Go to clients.
If you see Error with the CSV file, check that the file is saved as a CSV and the headings match the 12 listed above exactly.
Step 3: Bring notes and documents over as files
Past notes, letters and completed forms go on each client's record as files.
- Open the client from Clients and select the Files tab.
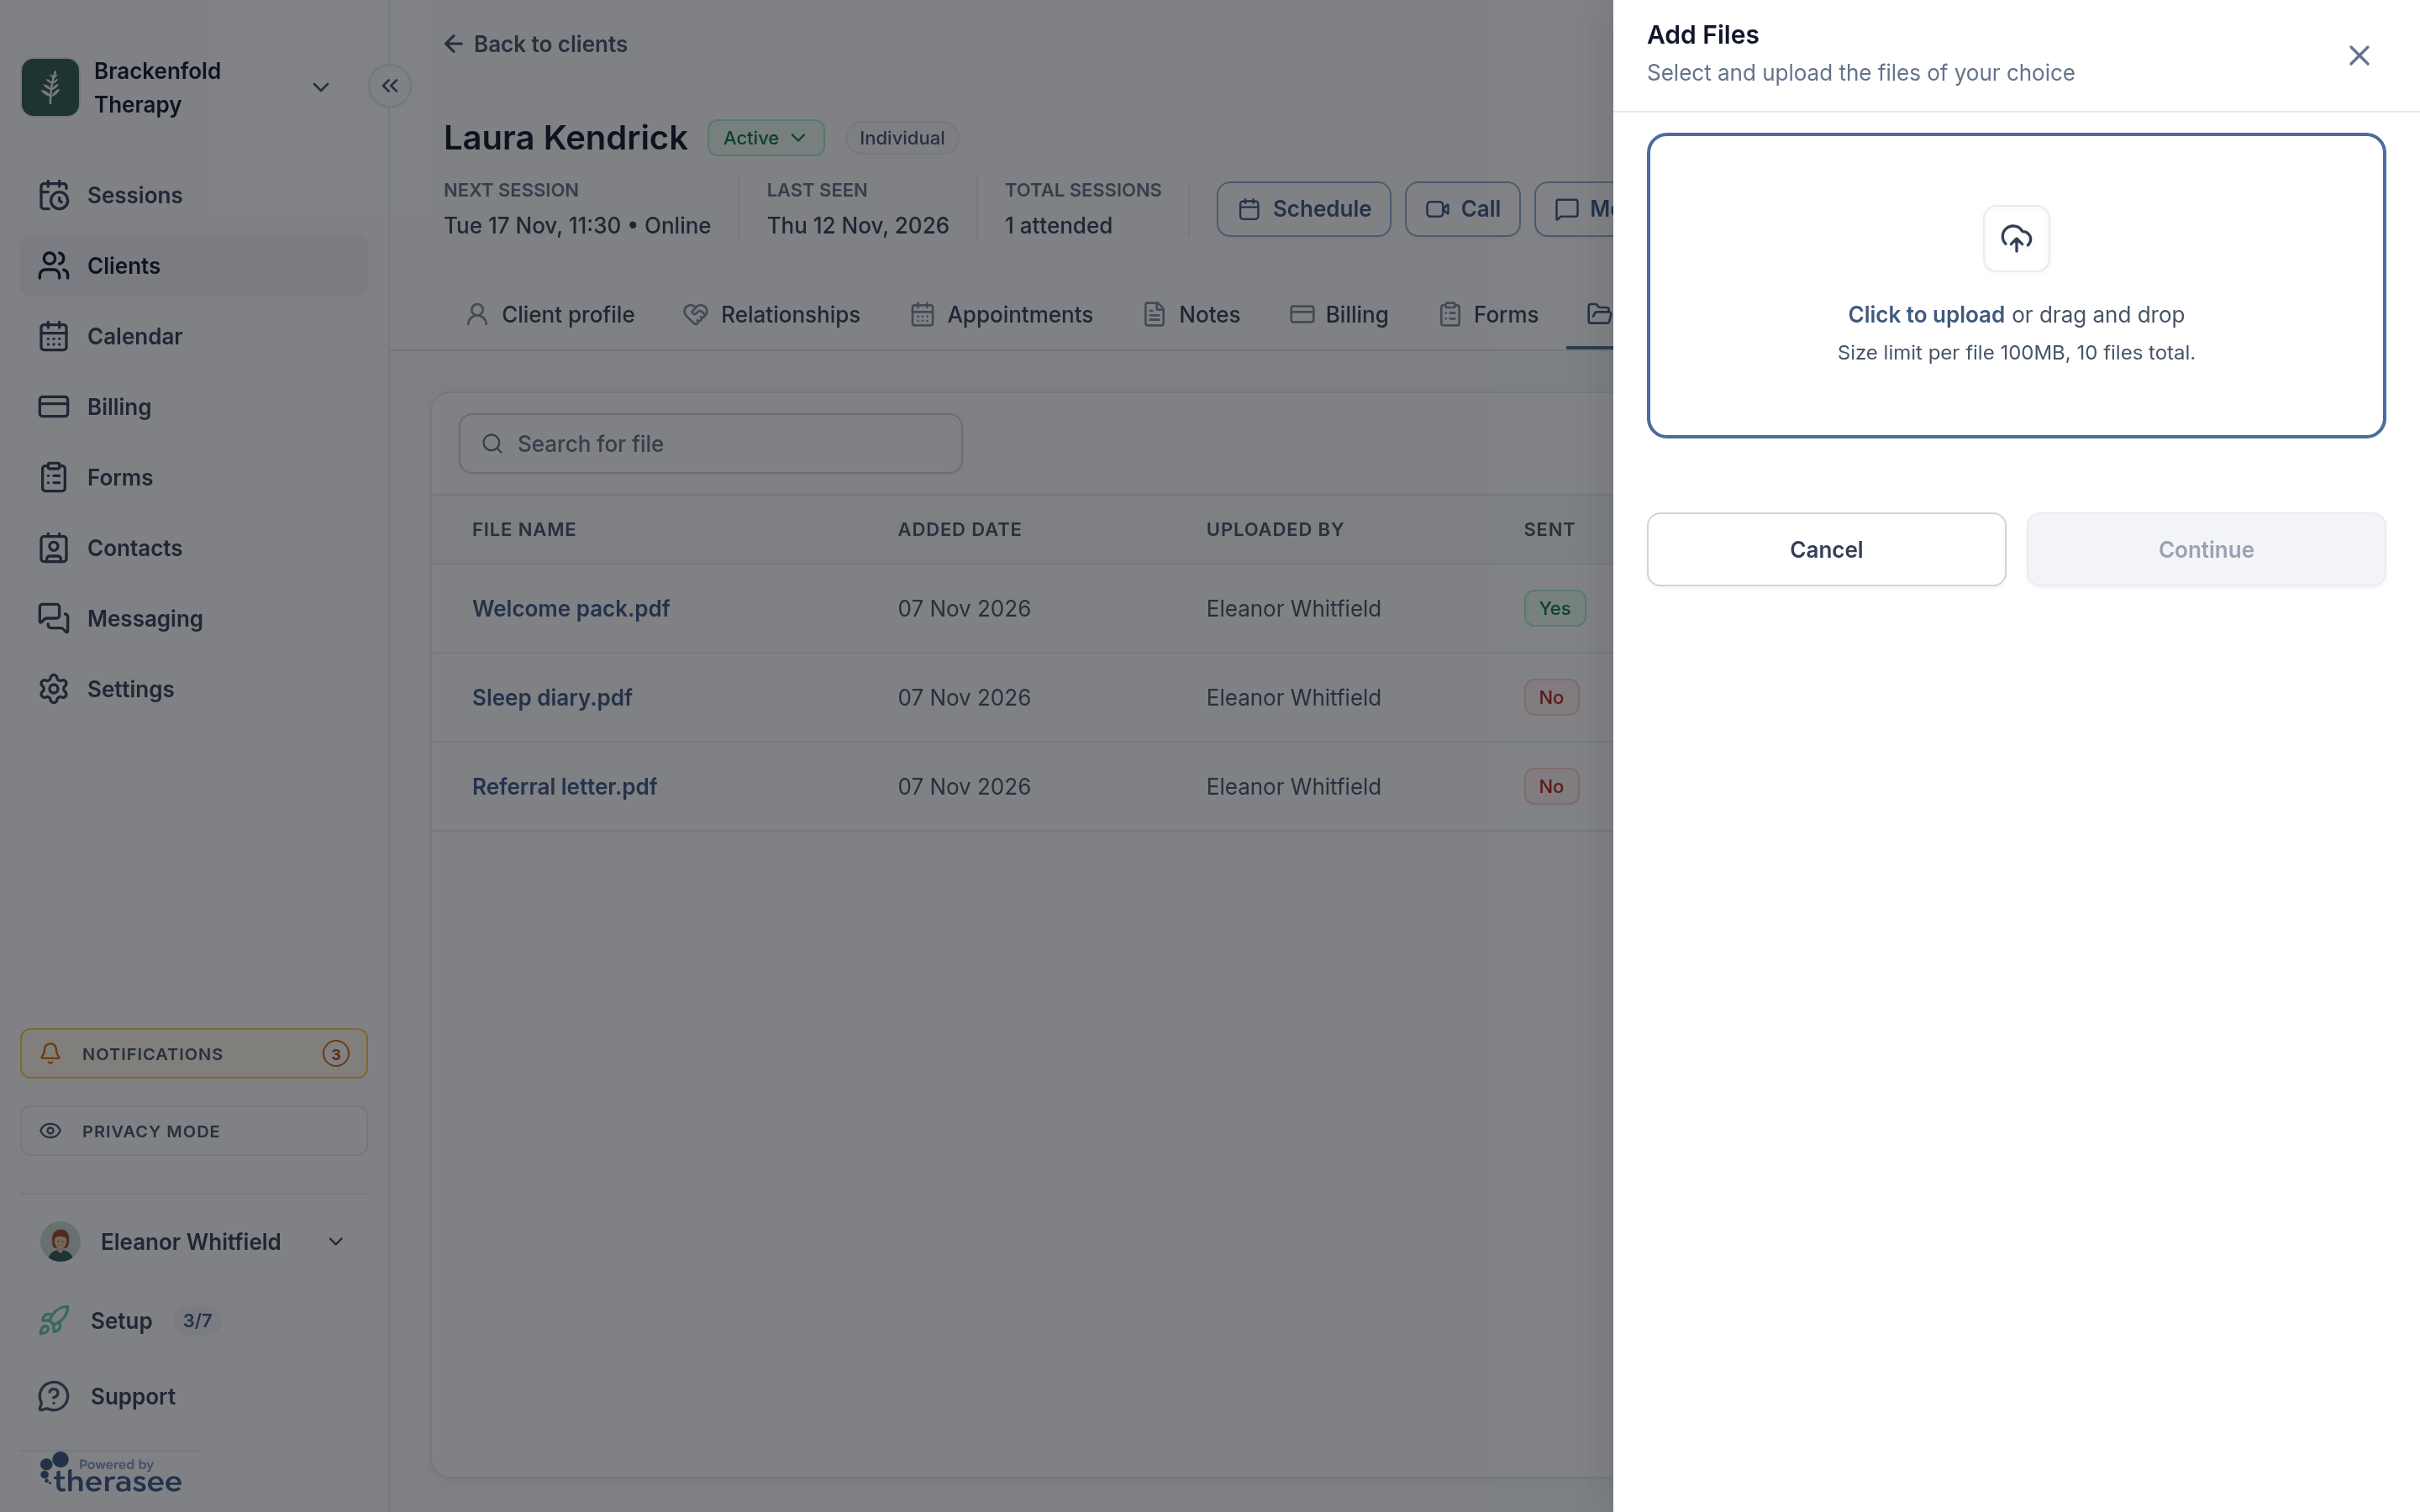
- Select the + button (Add file). The Add Files panel opens.
- Drag your files onto the box, or select Click to upload. You can add up to 10 files at a time, each up to 100MB: PDFs, Word and Excel documents, images and most other file types.
- Select Continue. Each file shows its progress, then appears in the list.
Clear names, such as "Notes from previous system 2023 to 2025", help you and your team find them; rename a file with the pencil icon beside its name. These files stay on the record for you and your team, the Sent column shows No, and they don't appear in the client's portal. To give a client a copy, use Share on the file, which emails them a link.
From your first session in Therasee, write notes in the client's Notes tab. You can also add a short handover summary there as a general note. See Writing session notes.
Step 4: Recreate your forms
Therasee forms are online forms your clients fill in, with answers saved to their record. Build each one once as a template in Forms.
The AI Form Assistant can turn an existing PDF or Word form, or a photo of a paper form, into an online form. Once it's switched on for your practice, open a new form, select the sparkle button to open the Form Assistant and attach your document. You can also ask it for a standard measure by name, such as PHQ-9 or GAD-7. Check every question before you save and send the form.
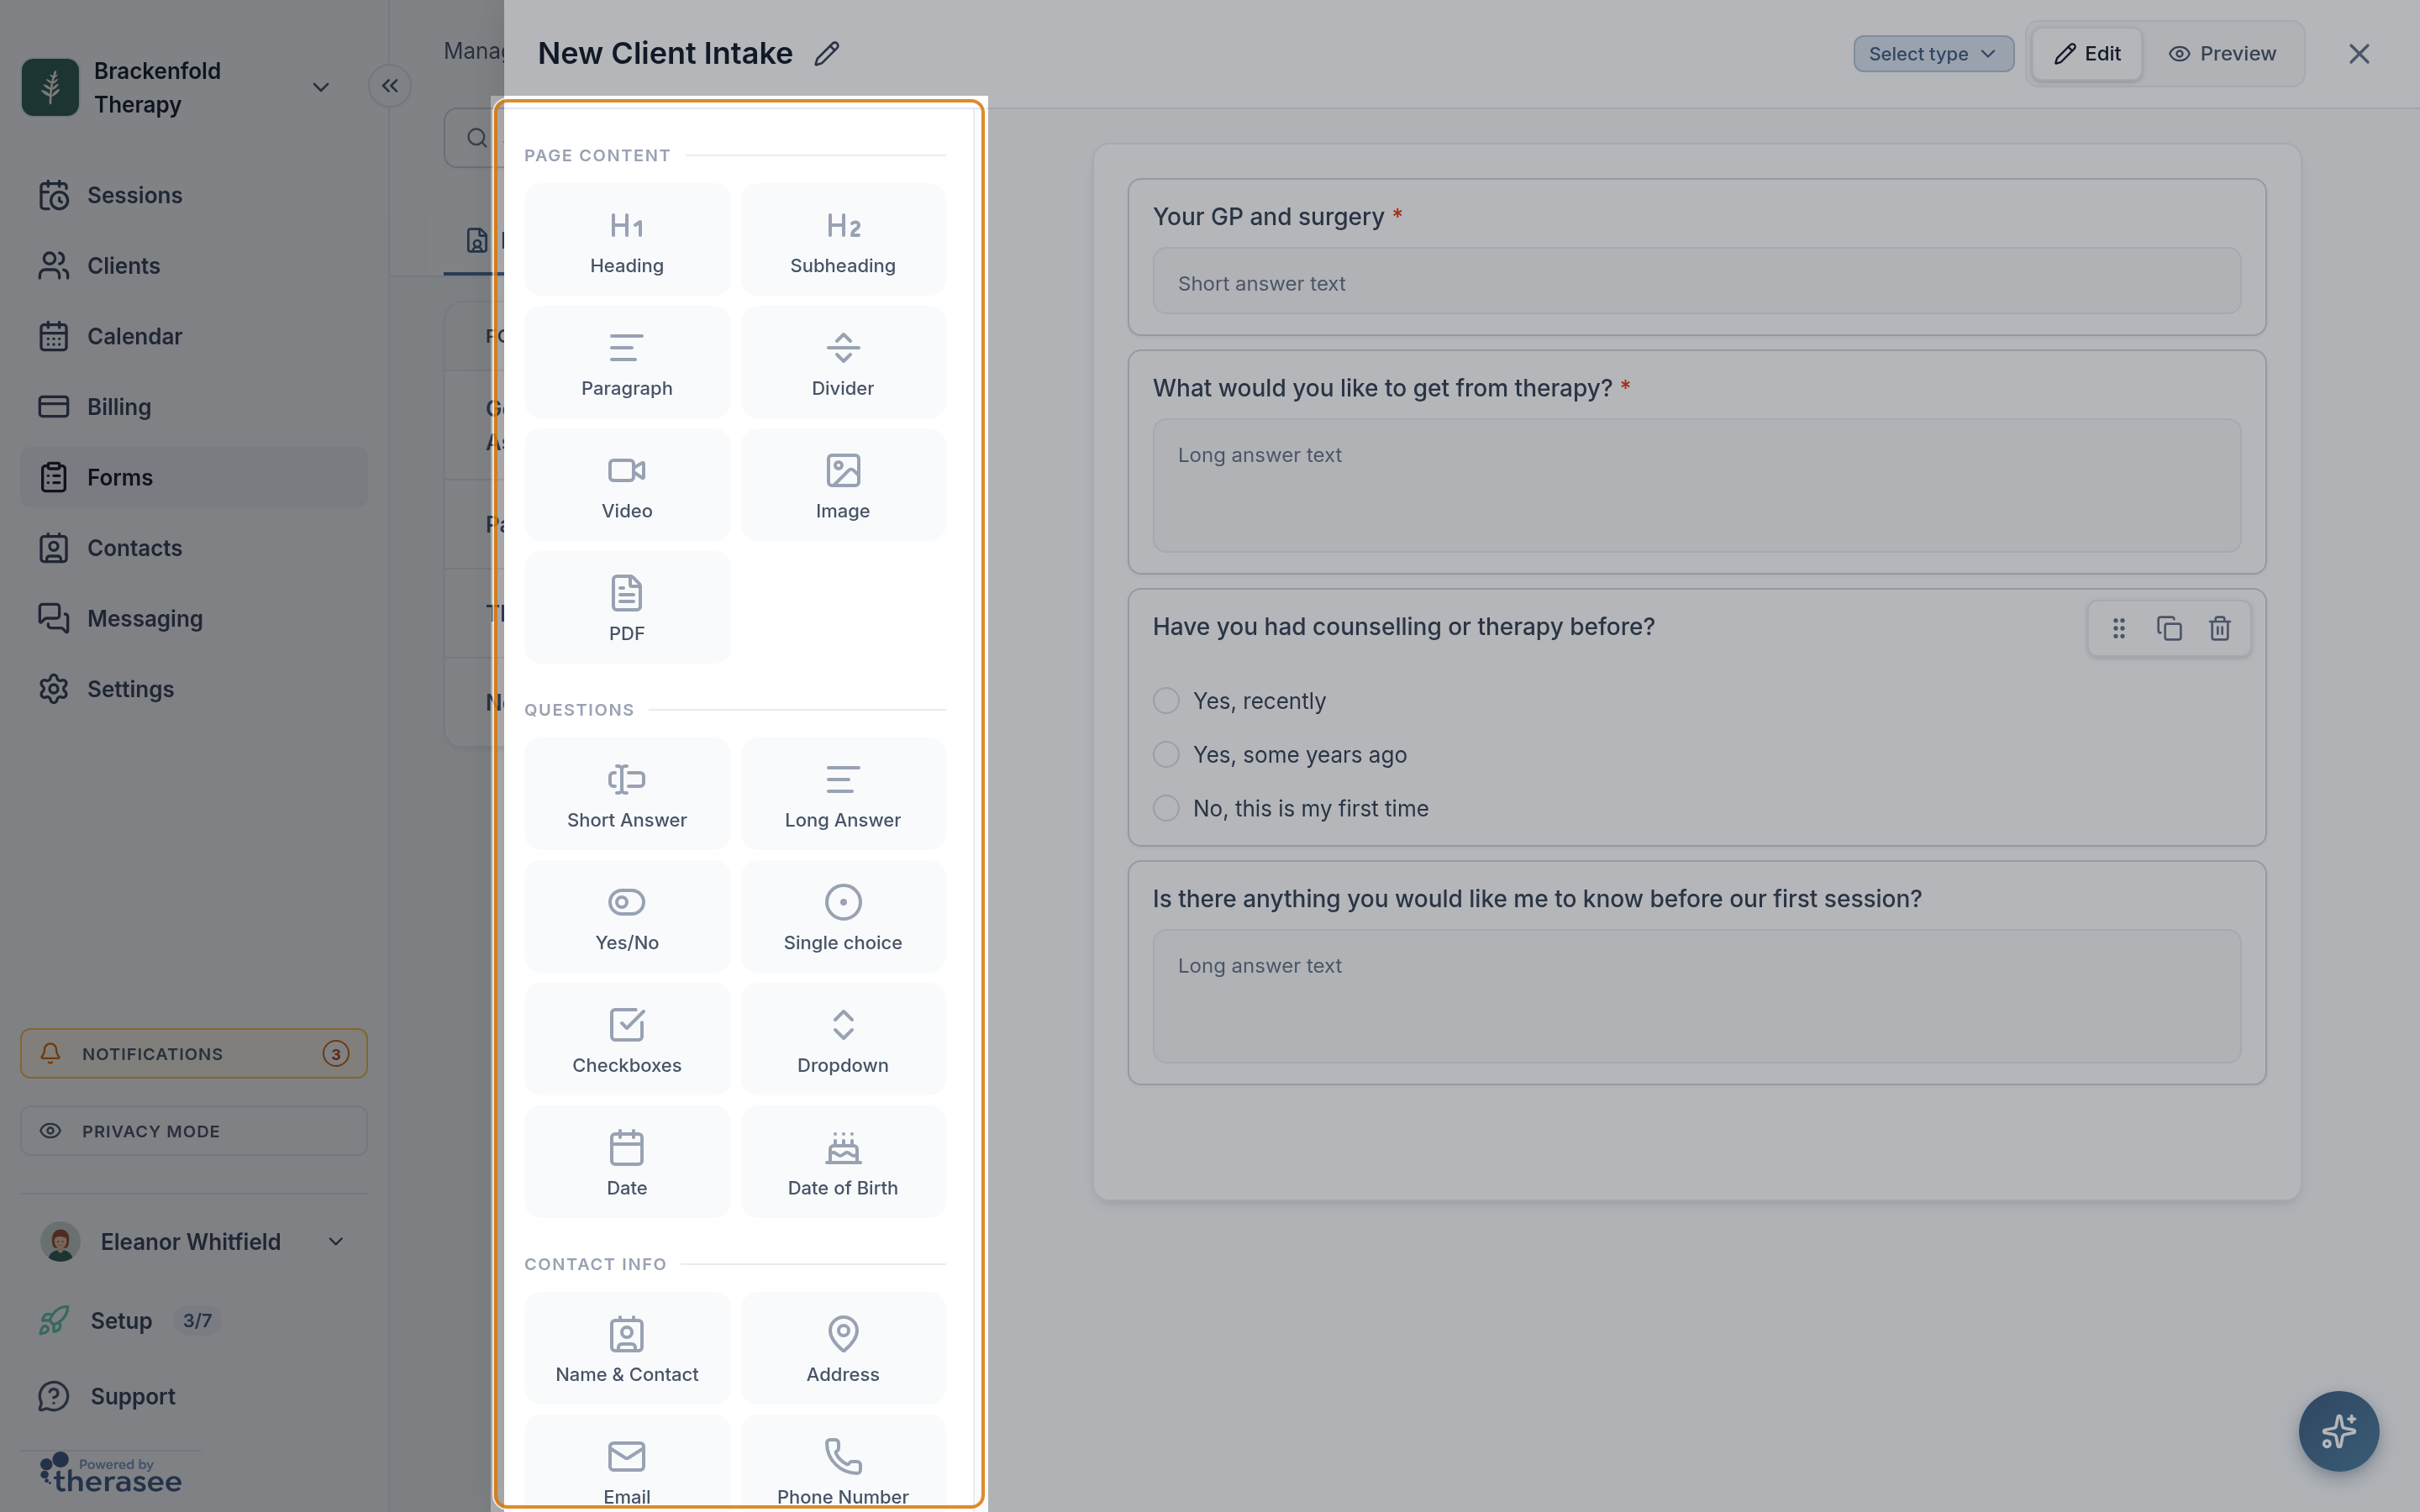
For the full steps, see Creating and sending forms.
Step 5: Move your upcoming appointments
Book each upcoming session in Therasee from your appointment list; see Booking an appointment. As you do:
- For regular clients, book a repeating session starting from their next appointment, not a past date.
- Check the Invoicing card so sessions already paid for in your old system aren't invoiced again.
- After Schedule, choose Schedule and send to email the client their date, time and, for video sessions, their new Join session link, or Schedule without sending if you'd rather tell them yourself first. Reminders you leave on are still sent.
Video links from your old system won't lead to sessions booked in Therasee, so make sure online clients have their new link. Remove the same appointments from the old system so clients don't get two sets of reminders.
Step 6: Tell your clients and invite them to the portal
A short message before each client's next session helps: you've moved to a new system, emails will come from your practice's name, and video links have changed. Then invite them:
- On Clients, in the client's row, select Disabled in the Portal column, then Enabled.
- Choose Email, SMS or both, and select Send.
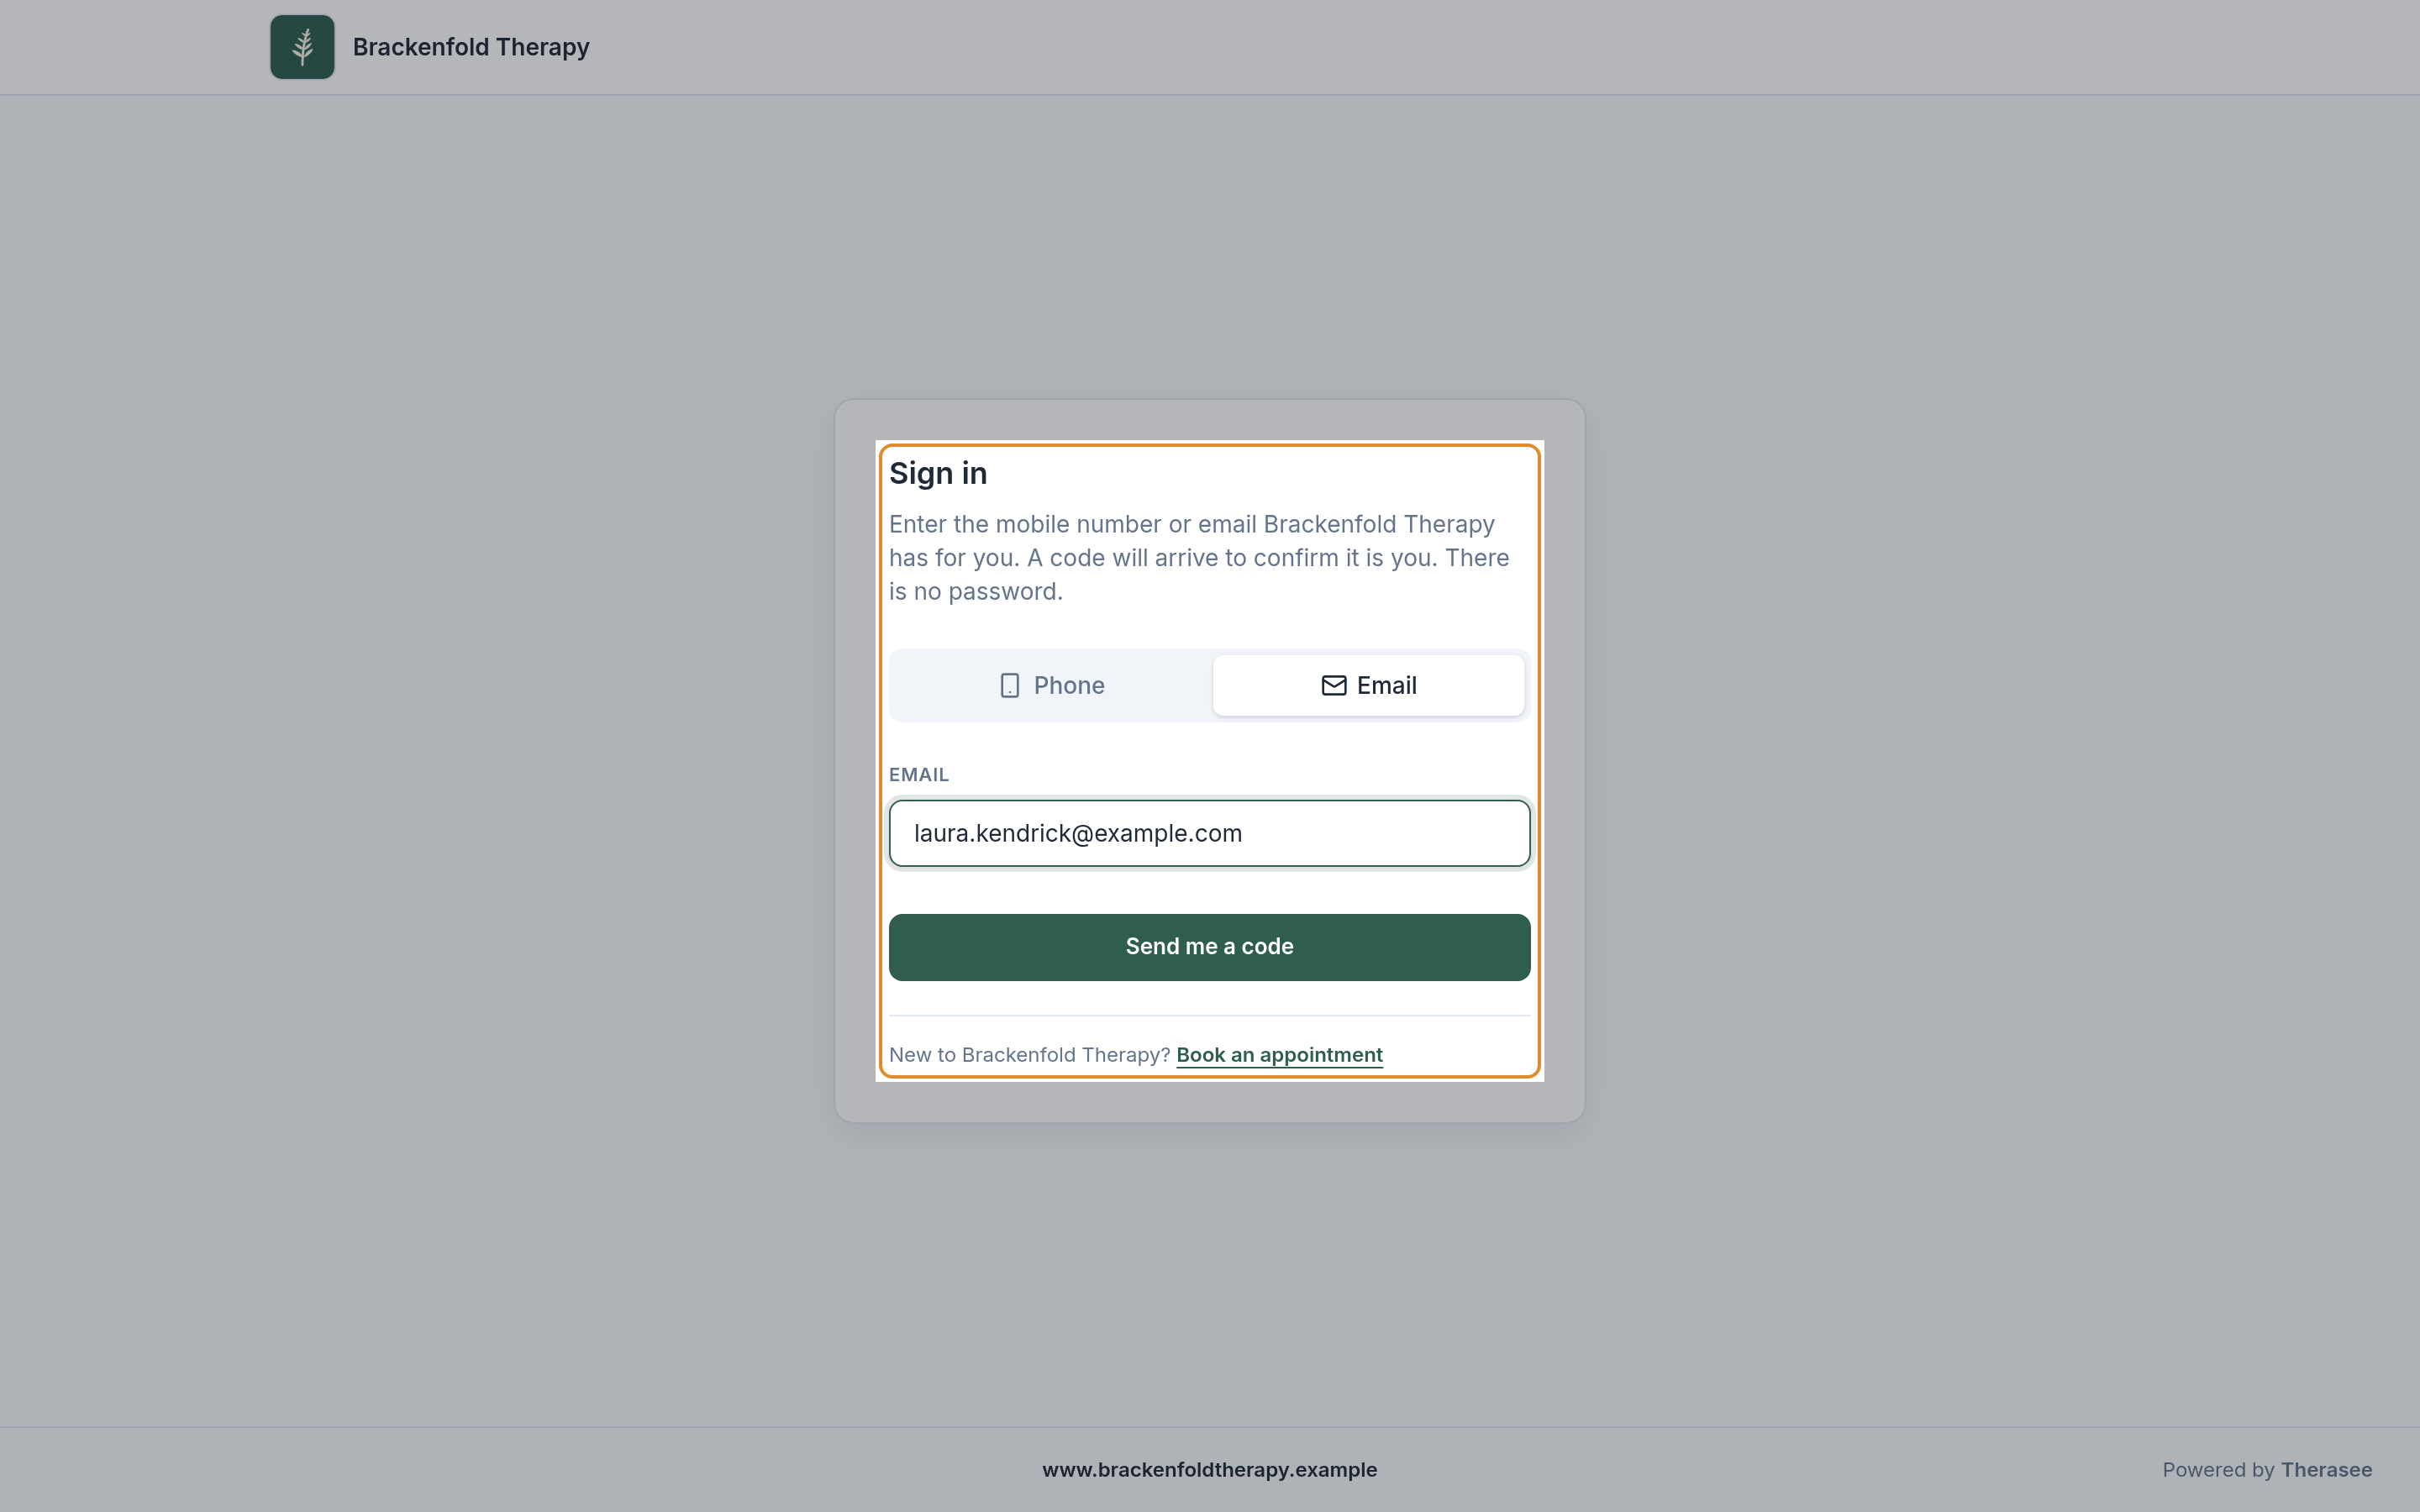
The client receives an email titled "Your client portal is ready" with a Sign in button. There's no password: they enter their email or phone number and get a code.
Checklist
- Download clients, notes, documents, forms and upcoming appointments from your old system.
- Set up services, working hours and the client portal.
- Import clients by CSV; add dependants and couples by hand.
- Upload notes and documents to each client's Files tab.
- Recreate your forms.
- Book upcoming appointments and check their invoicing.
- Tell clients about the switch and invite them to the portal.
- Close your old account once everything is across, keeping any records you're required to hold.
If you get stuck on any of these steps, contact support.
Was this helpful?