Adding a client
How to add a client one at a time or import many from a CSV file, choose their type and status, and invite them to your client portal.
Updated 4 November 2026
Each client has a record that holds their details, sessions, notes, forms, invoices and messages. This article covers adding clients one at a time, choosing their type and status, inviting them to your client portal, and importing a list from a spreadsheet.
Before you start
- You only need the client's first name and last name. Everything else can be added later from their profile.
- Adding a client doesn't send them anything. They hear from you only when you invite them to the portal, or send them a booking, message, form or invoice.
- The add button appears for team members whose role allows adding clients. If you can't see it, ask your practice owner.
- On the Free plan you can have up to 3 clients, and importing clients isn't available.
Add a single client
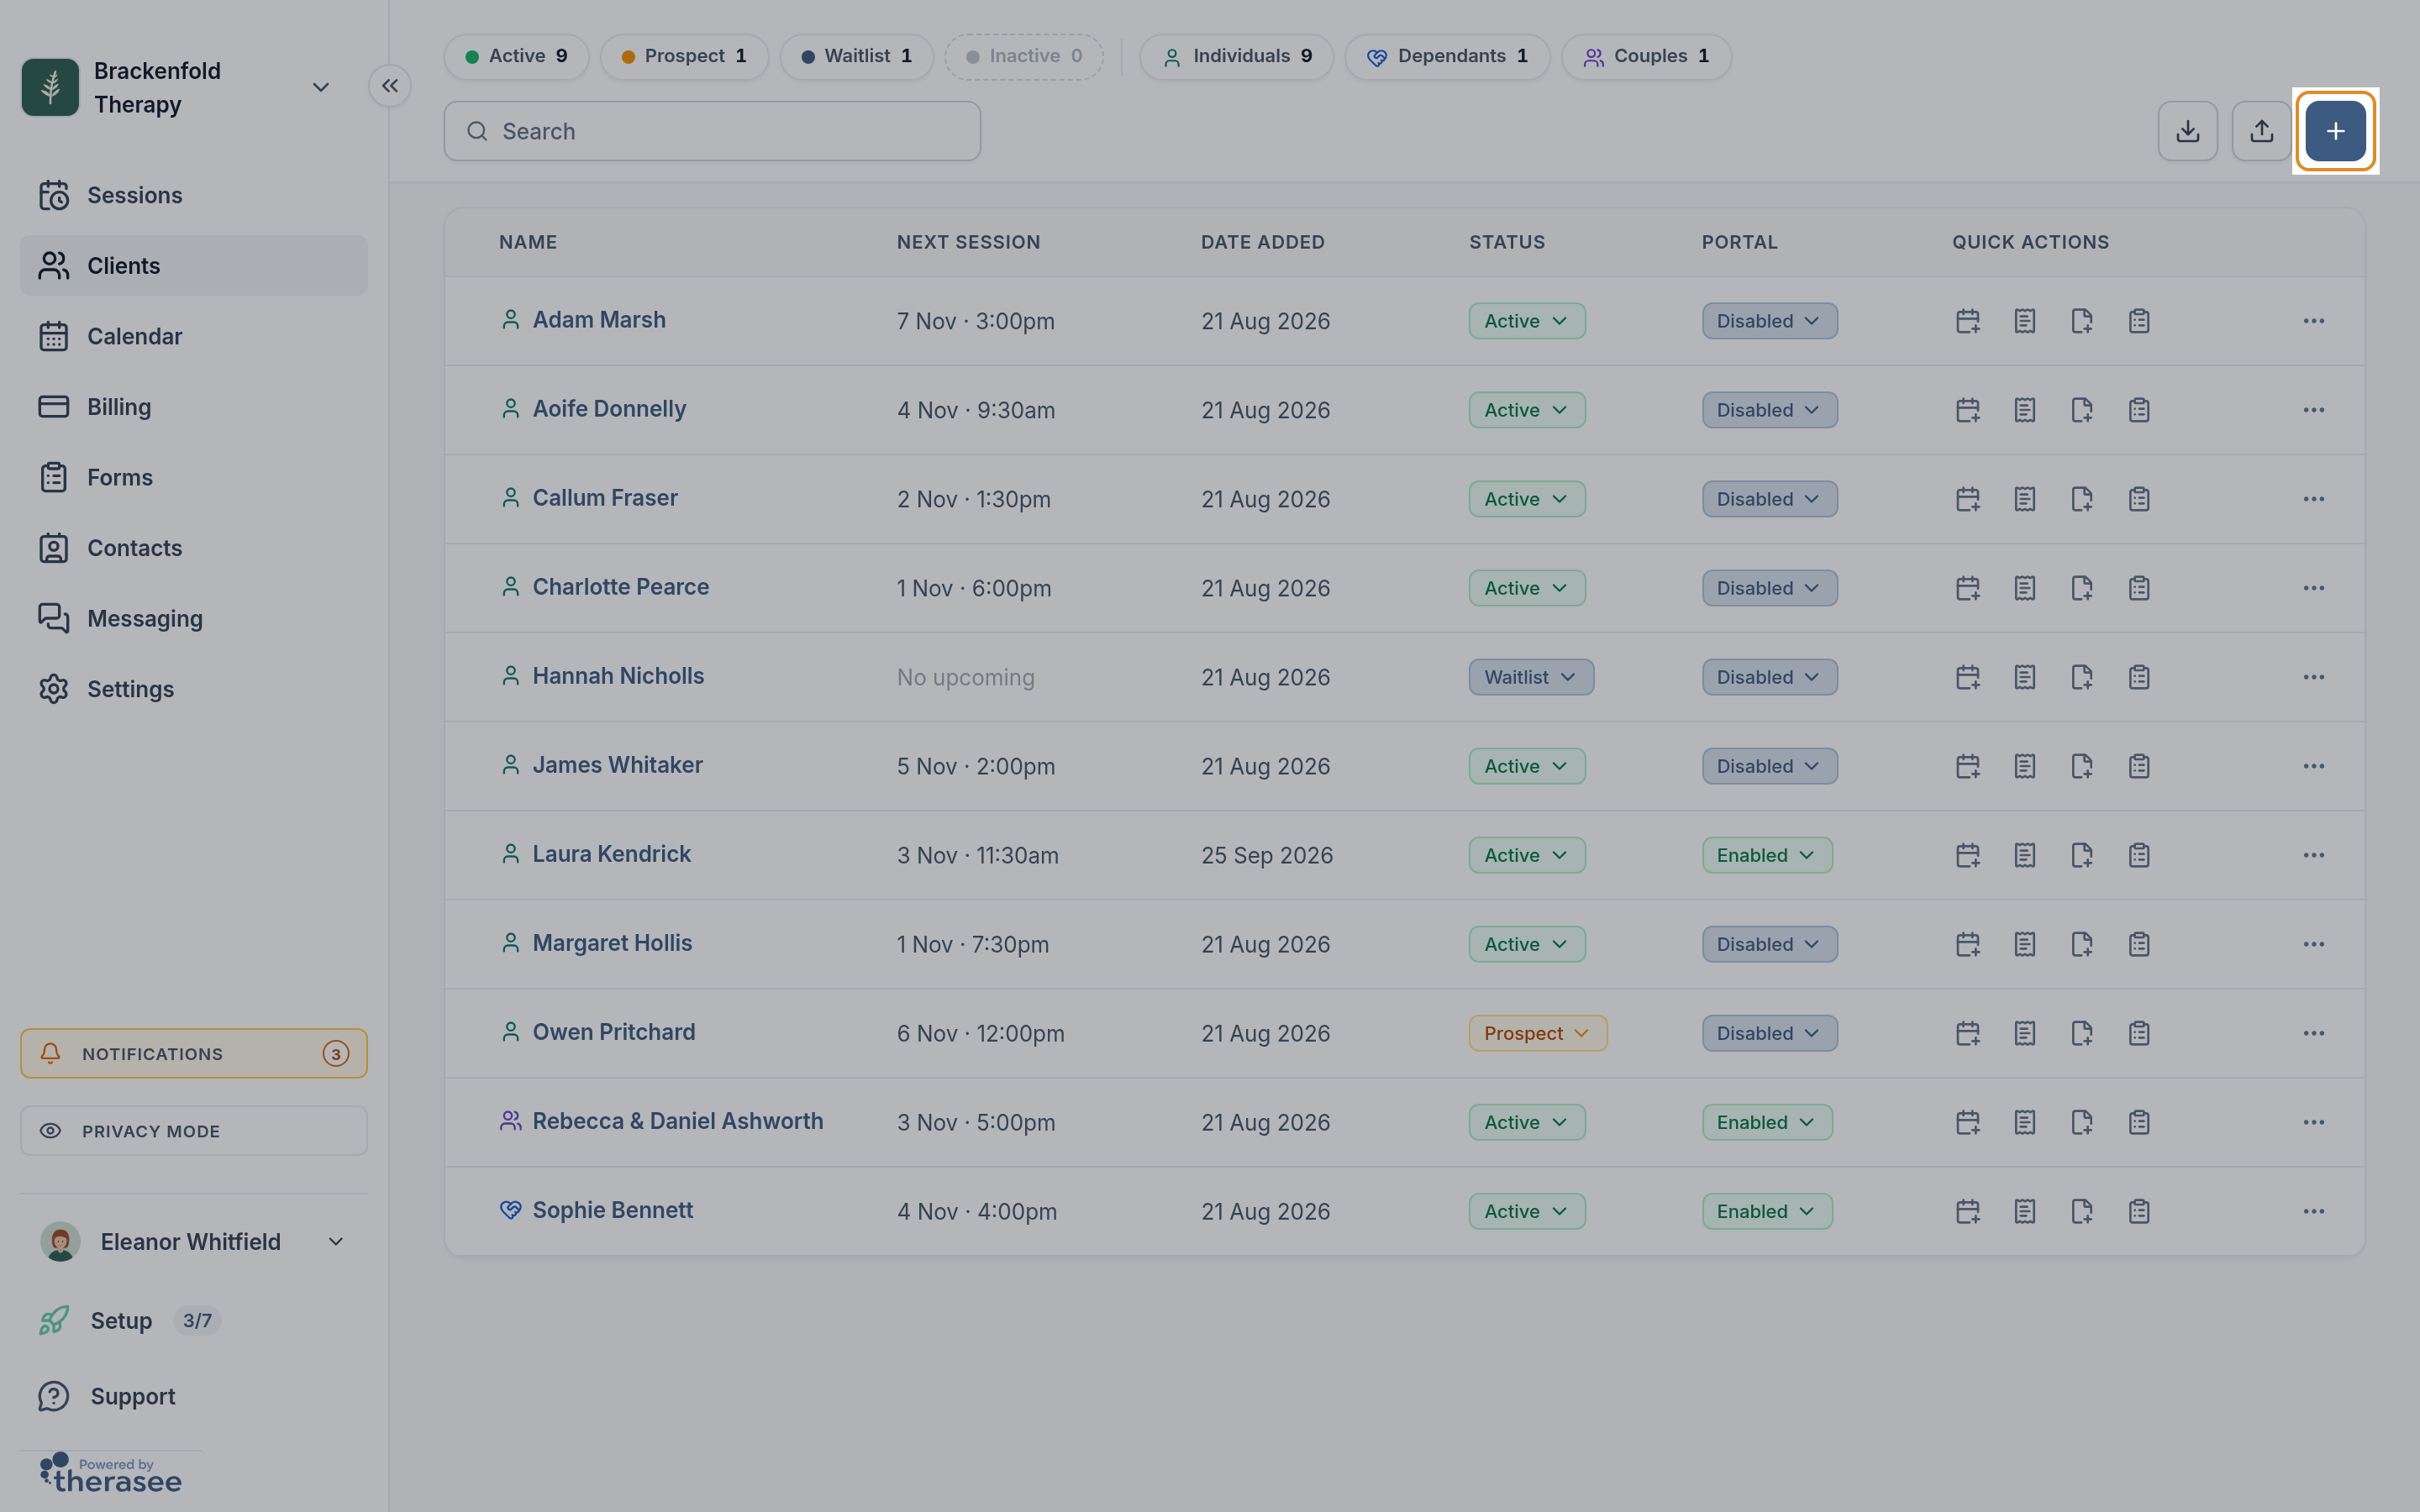
- Go to Clients and select the + button at the top right. (With no clients yet, you can also use Add client in the middle of the page.)
- In the Add client panel, choose the Client type: Individual, Dependant or Couple (explained below). Individual is selected to begin with.
- Under Status, pick Active, Prospect, Waitlist or Inactive. Active is selected to begin with.
- Fill in the details, then select Register. You'll see Client added and the panel closes.
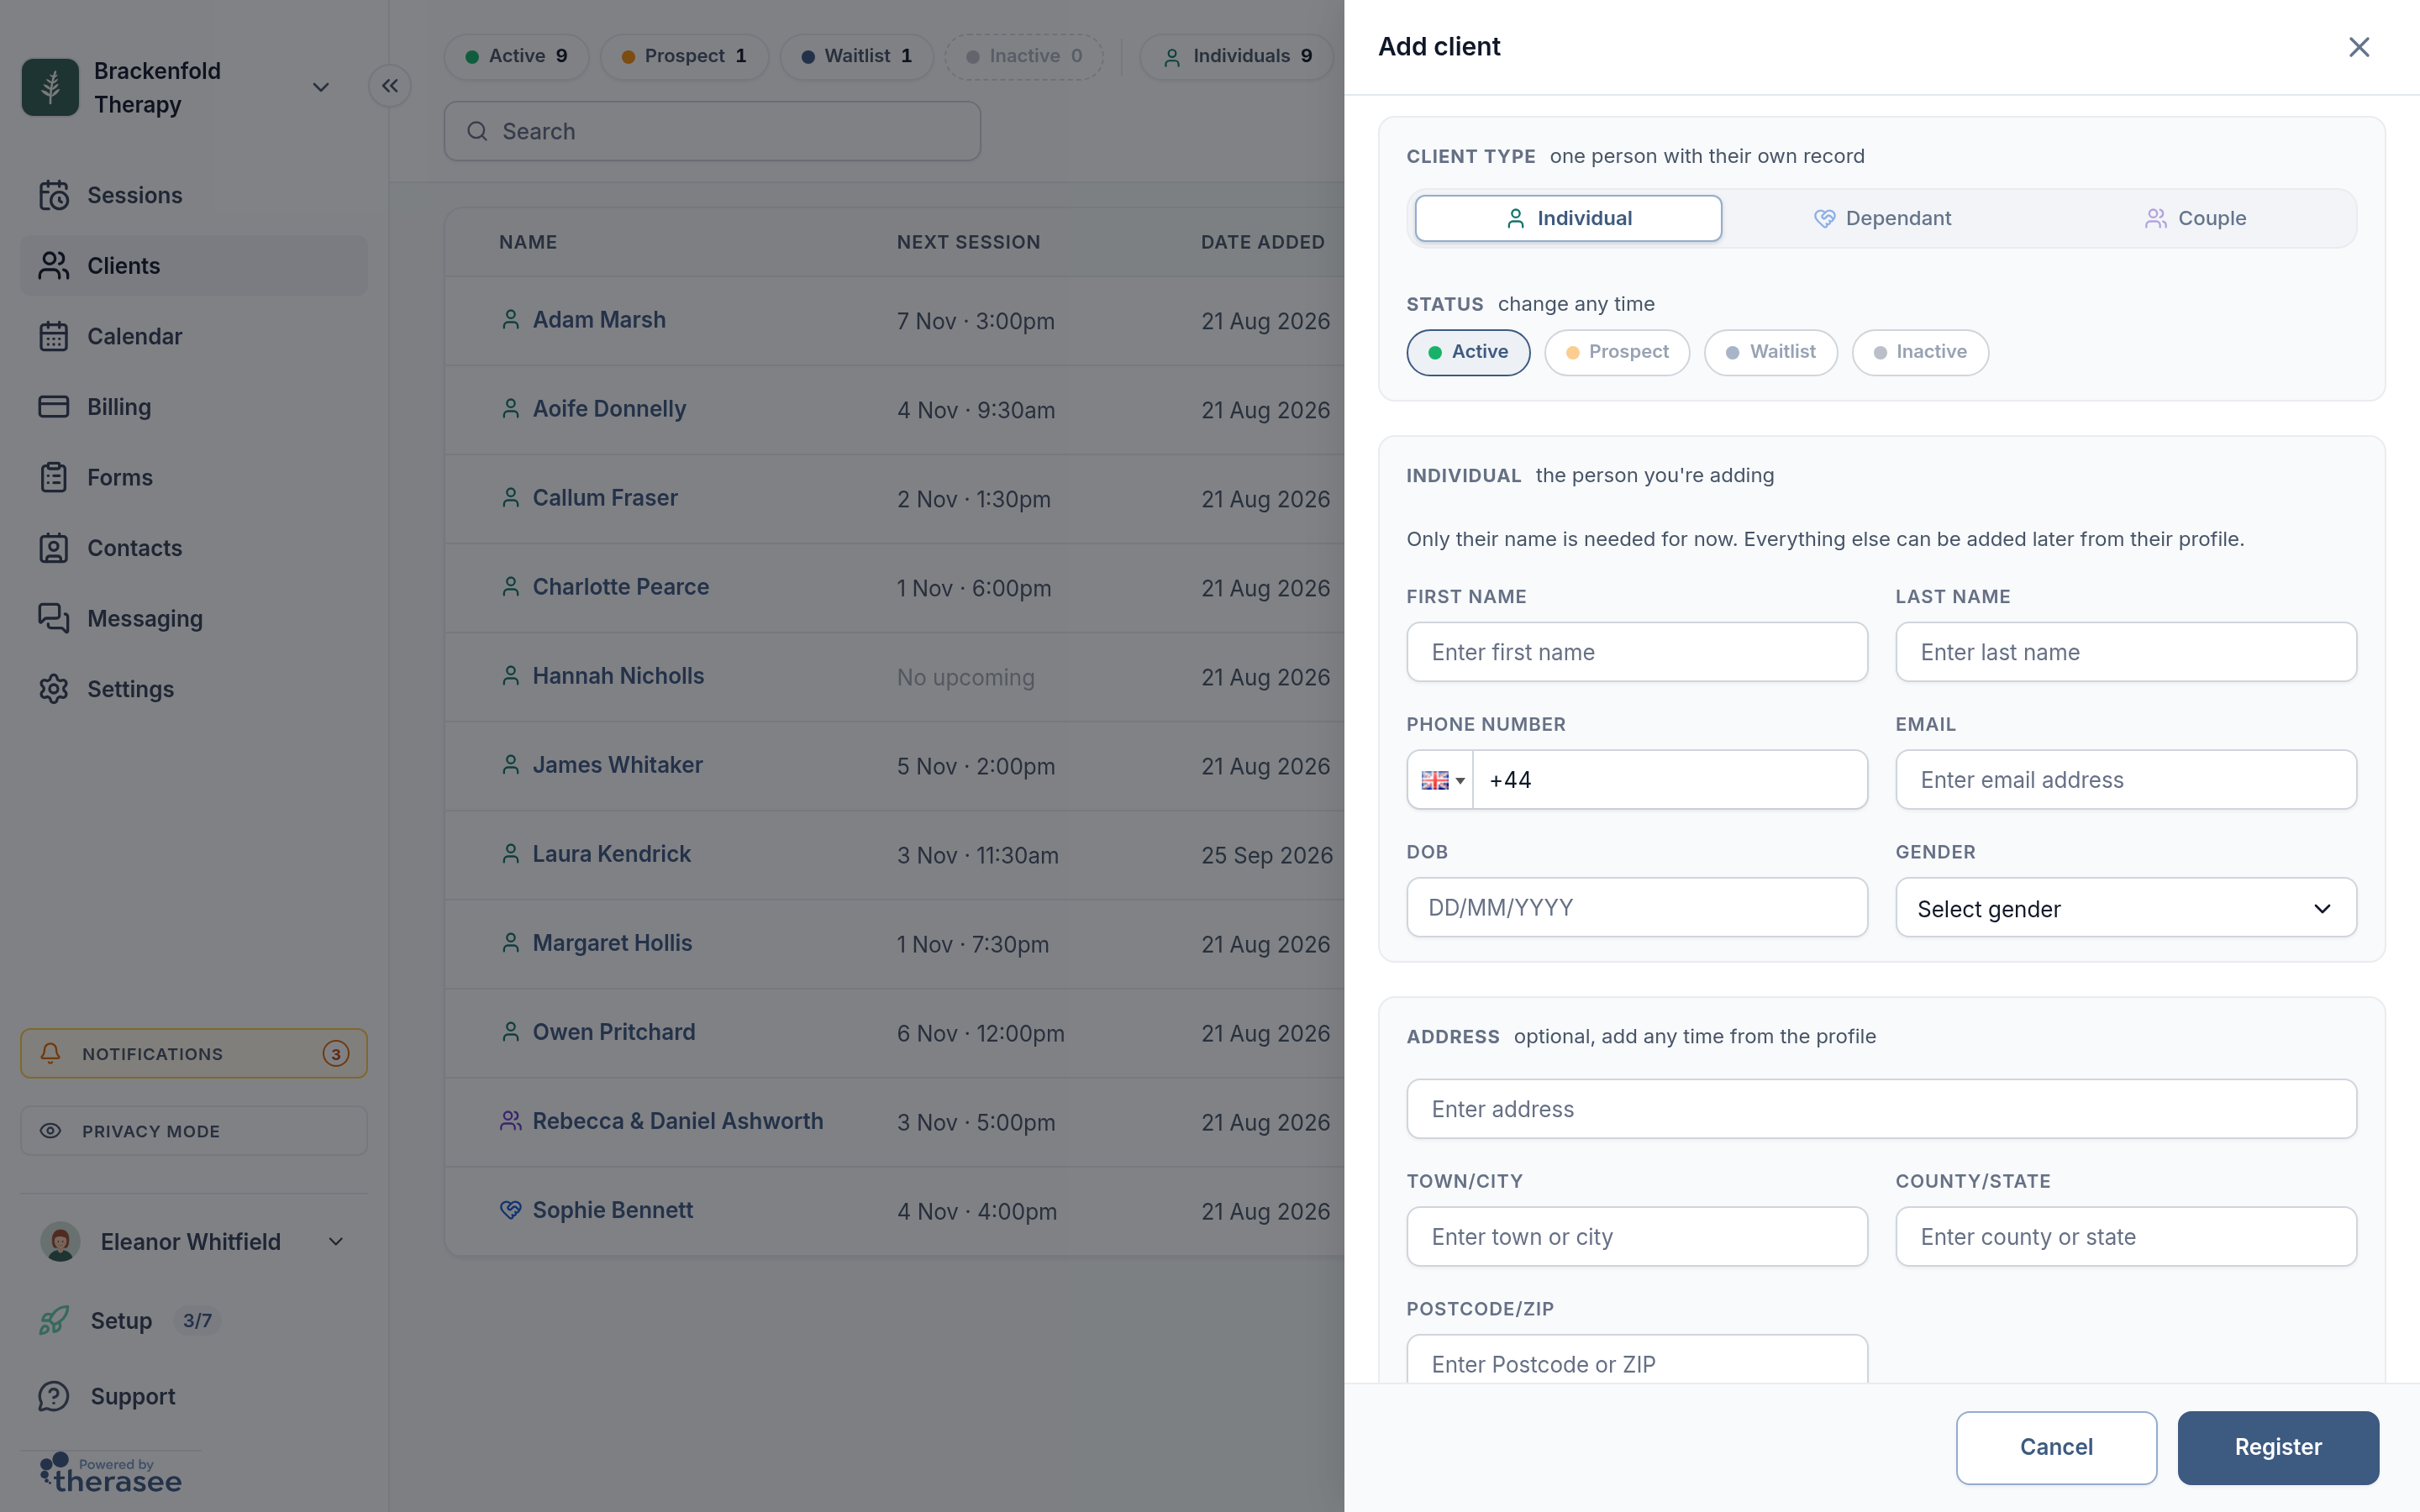
For an Individual, the fields are:
- First name and Last name (required). Letters, spaces, hyphens and apostrophes are accepted, including accented letters.
- Phone number and Email. The phone's country code starts on your practice's country; change it from the flag if needed.
- DOB (DD/MM/YYYY) and Gender.
- Address: address line, Town/city, County/state and Postcode/ZIP.
- Emergency contact: name, Relationship / Description, email and phone.
Clients sign in to your portal with their email or phone number, so add at least one if you plan to invite them. If the date of birth makes the client under 18, you'll be asked whether to make them a dependant: select Switch or Dismiss. Nothing is saved until you select Register; if you close the panel part-way, you can choose Keep editing.
Choosing a client type
Individual is one person with their own record, which suits most adult clients.
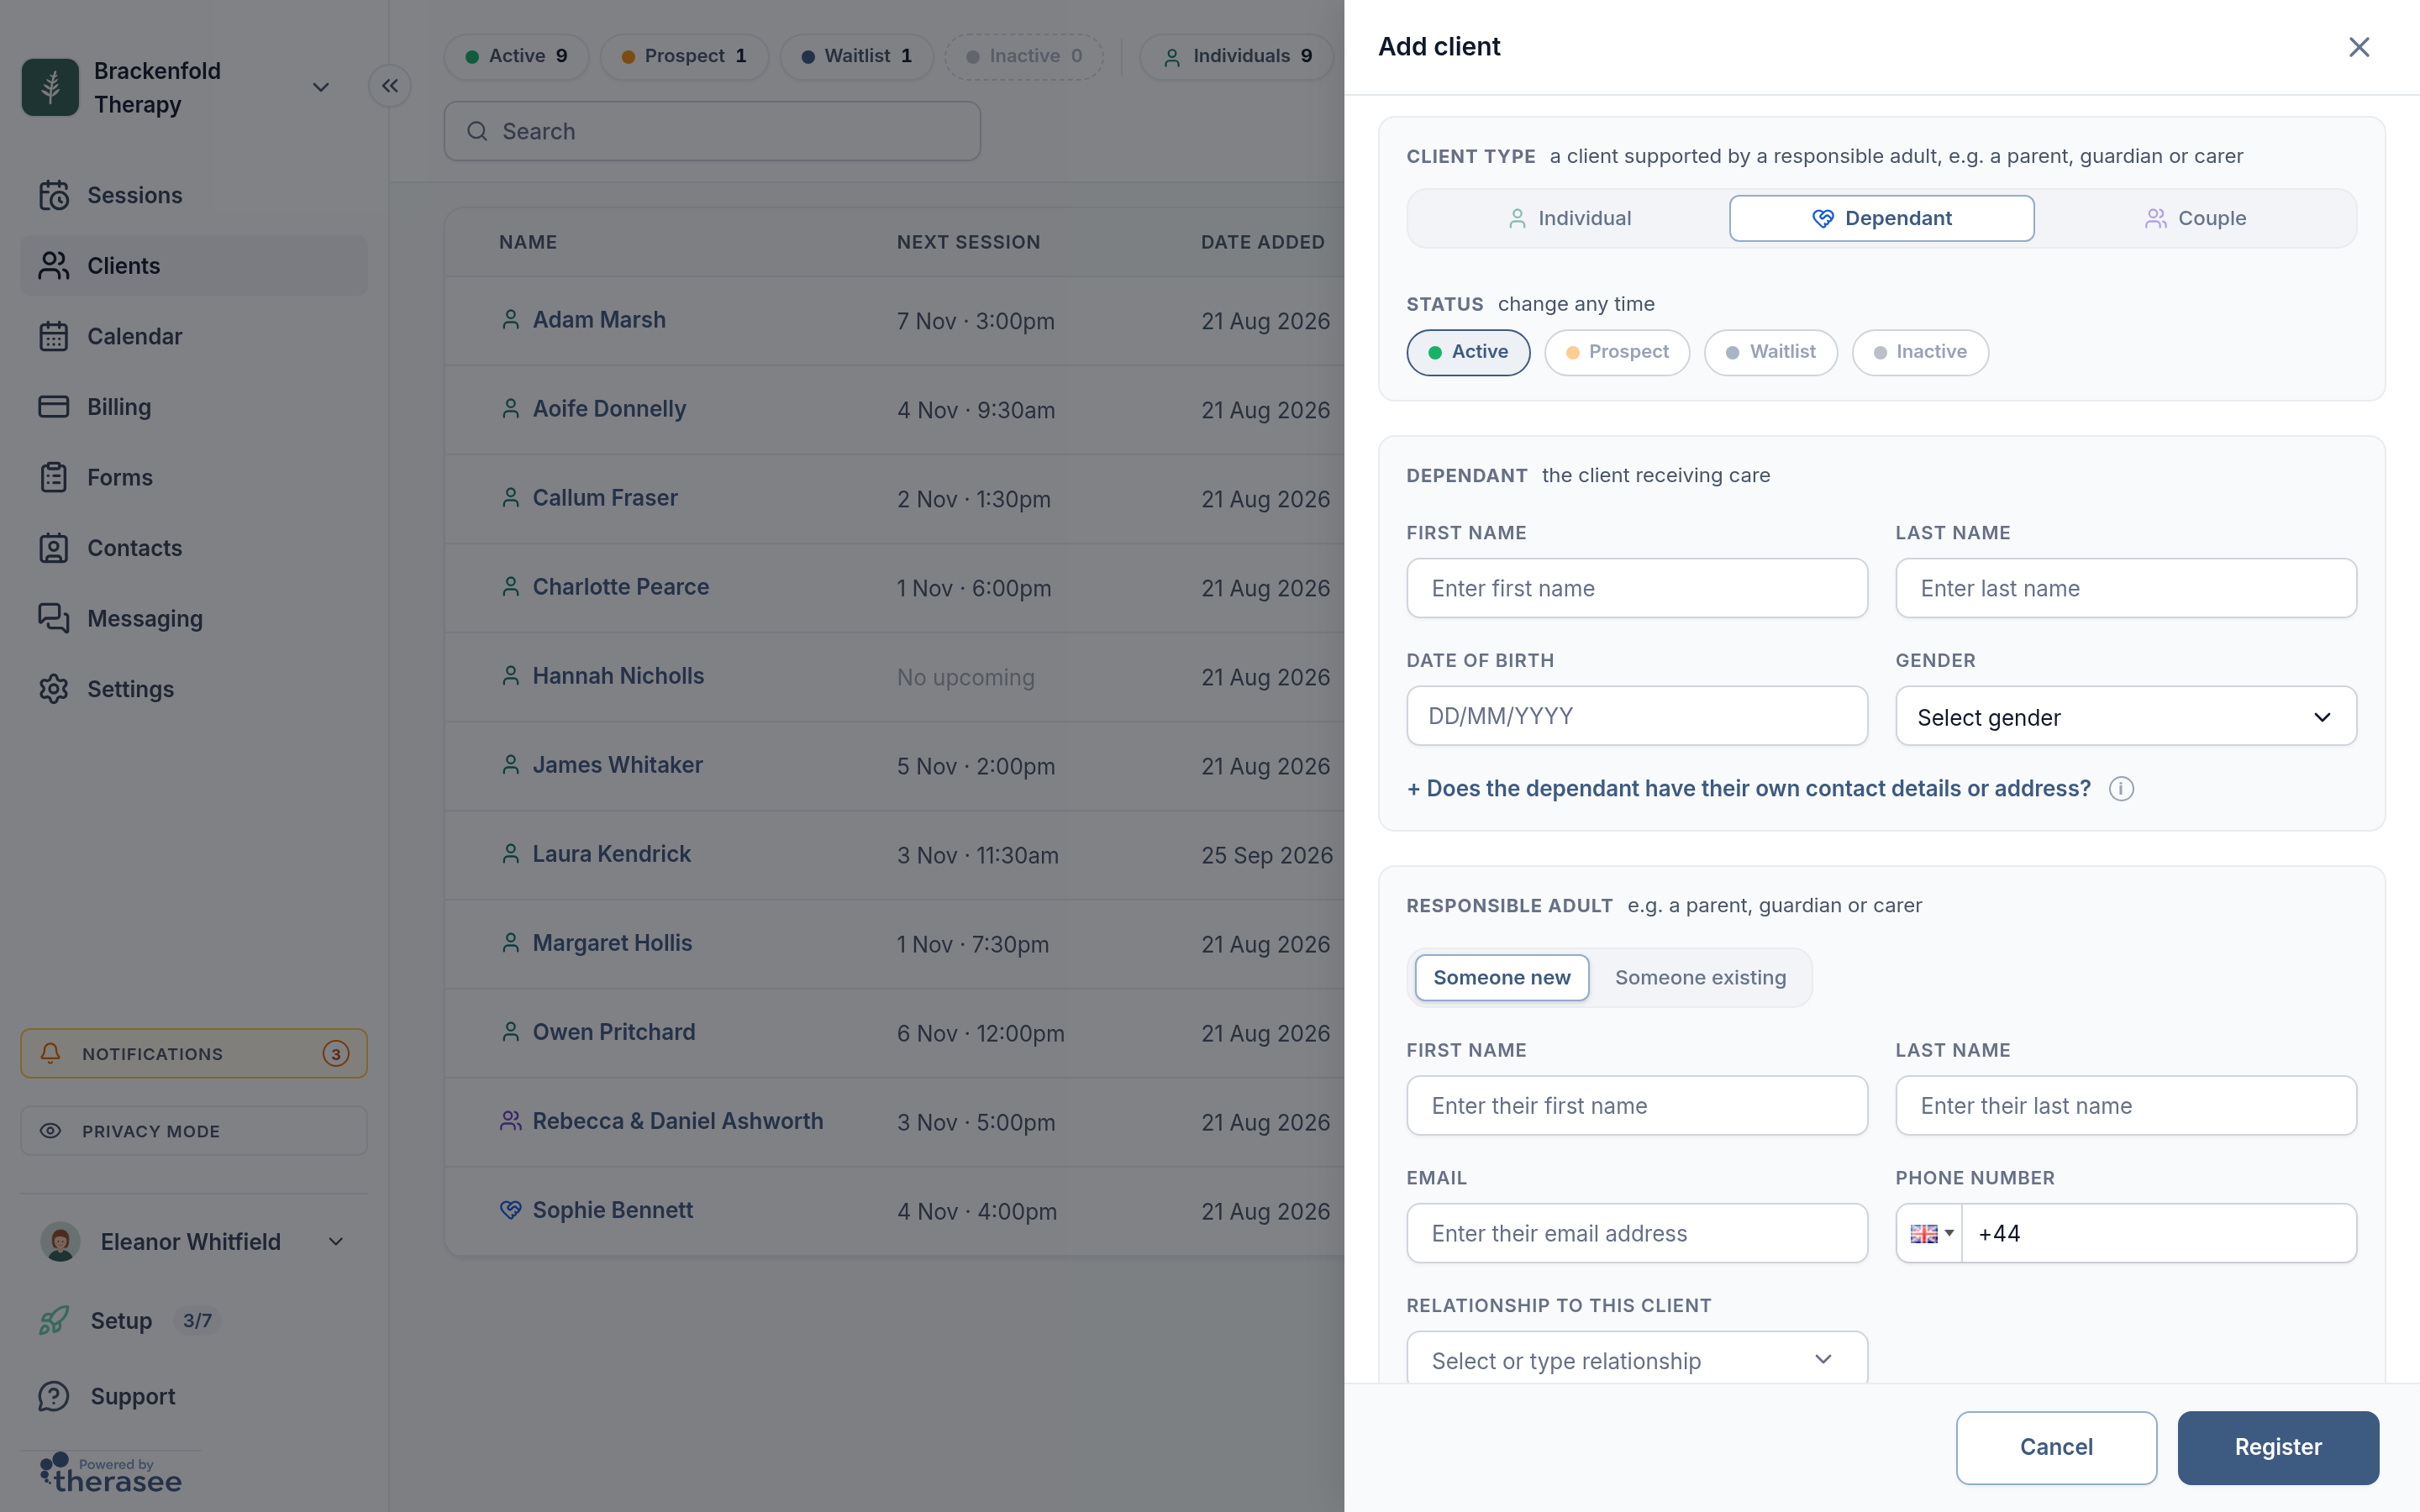
Dependant is a client supported by a responsible adult, such as a child with a parent or guardian, or an adult with a carer. You'll enter:
- The dependant's name (required), date of birth and gender. If they have their own email, phone or address, select + Does the dependant have their own contact details or address?
- A Responsible adult (required): Someone new to type their details, or Someone existing to search your clients and contacts. Set the relationship and tick Parental responsibility and Emergency contact as they apply. Use + Add another adult if, say, separated parents are both involved.
- Communications: who receives confirmations, reminders, changes and cancellations, invoices, form requests and portal messages. Everything goes to the responsible adult to begin with.
A new responsible adult is saved as a contact and linked to the dependant. Being named doesn't give them portal access; you decide that separately.
Couple is two people seen together on one shared record, booked, noted and invoiced once. Fill in Partner one and Partner two (new people or existing clients or contacts; each needs a name), check the Record name (how the couple appears in search, the calendar and invoices), and under Billing choose which partner is invoiced.
What the statuses mean
- Active: a current client.
- Prospect: someone who has been in touch but hasn't started. People who book a first appointment online or send your contact form arrive as Prospects, tagged New booking or New contact form.
- Waitlist: someone waiting for a space. People who join through your waitlist form arrive here, tagged New waitlist.
- Inactive: a past or paused client.
Statuses appear as filter buttons above the list, with counts, and in the Status column, where you can select a client's status to change it. Status is for organising your list; it doesn't turn portal access on or off, and it doesn't stop a client booking online.
Where the new client appears
The client appears in Clients with today's Date added, and a conversation is set up for them in your messages. The list shows Active, Prospect and Waitlist clients as standard, so select the Inactive filter to see anyone added as Inactive. From here you can book their first appointment or send them a message.
If the email or phone number is already in use
Each client in your practice has their own email and phone number. It's worth searching the list before adding someone.
- If the details belong to an existing contact (for example, someone's emergency contact who is now starting therapy), a note names them. You can go ahead: they get their own client record, and their contact links stay as they are.
- If they belong to an existing client, selecting Register shows Client already exists by this email (or phone number), naming that client. If they're the new client's parent, guardian or carer, select Link as responsible adult; otherwise select Use a different email (or number).
- In the Responsible adult and Partner cards, Select them instead links a person already on your books rather than adding them twice.
Invite the client to your portal
When your client portal is switched on, the Clients list has a Portal column showing Disabled for new clients.
- In the client's row, select Disabled, then Enabled.
- Tick Can sign in for each person who should have access, and under Send their link by choose Email, SMS or both.
- Select Send, or Don't send to switch access on and tell them yourself.
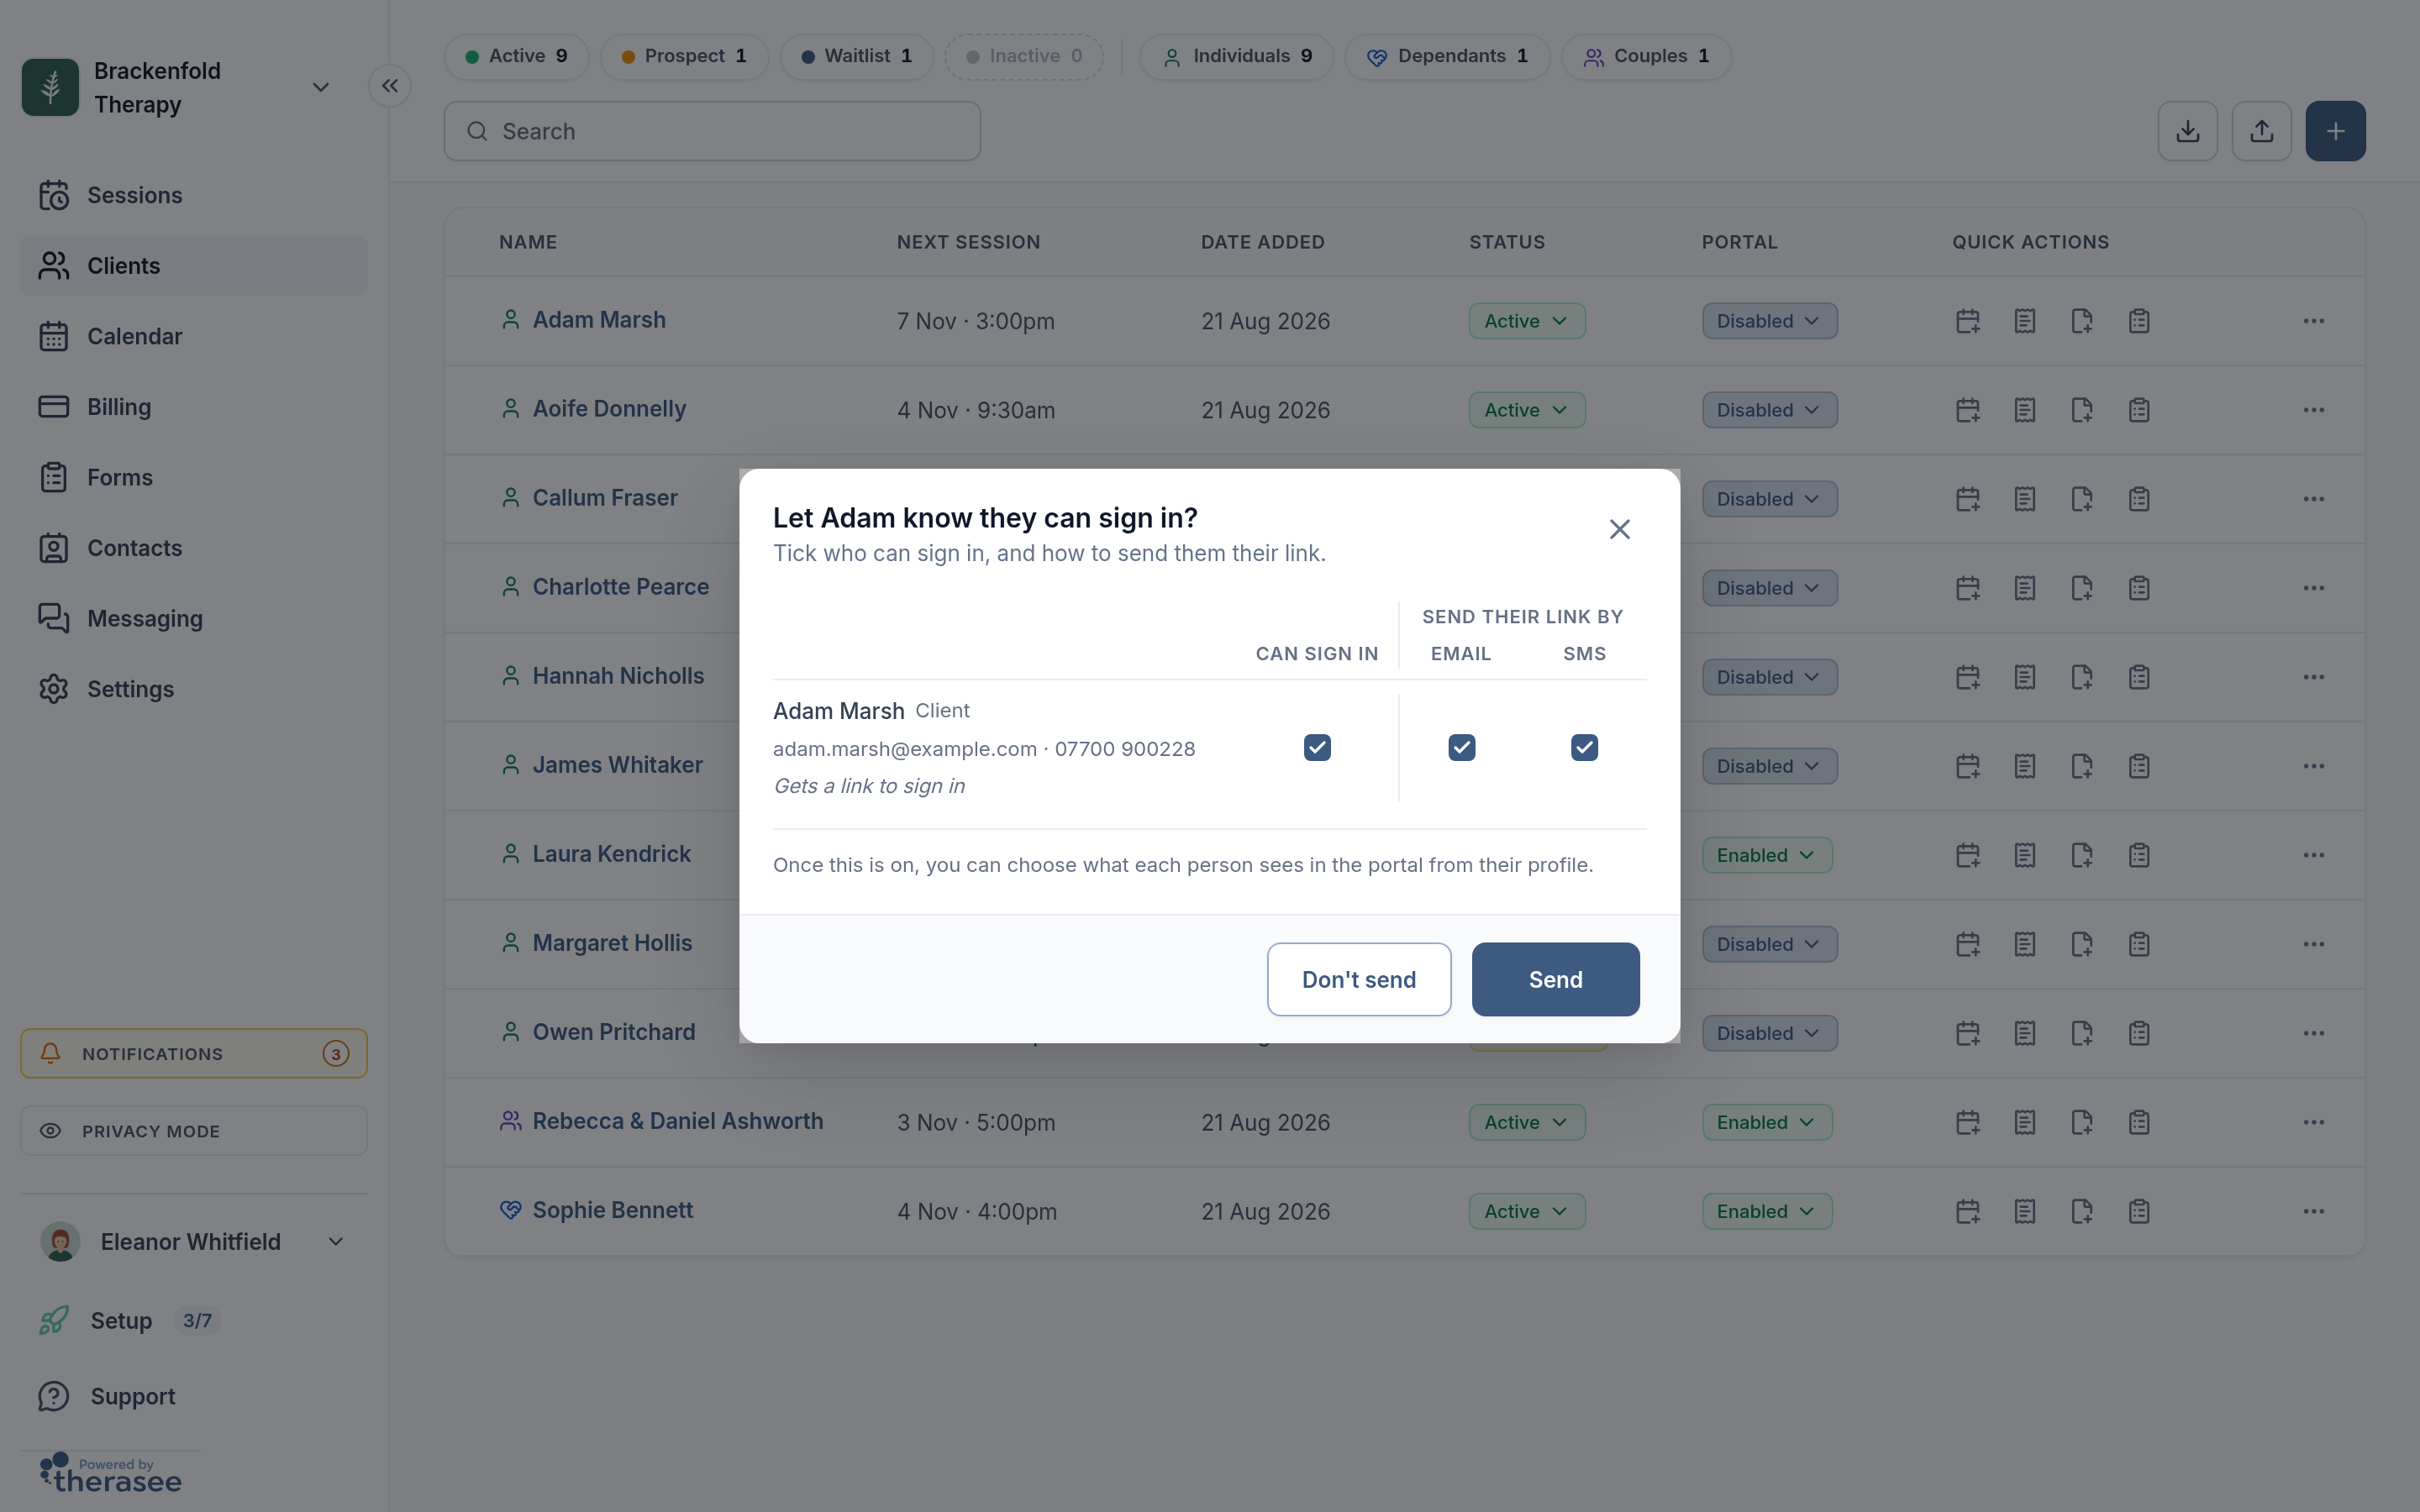
The email, from your practice's name, is titled "Your client portal is ready" and has a Sign in button; the text message gives the link. There's no password: the client enters their email or phone number and receives a code. Someone who already signs in to your portal is told the new record is now available to them.
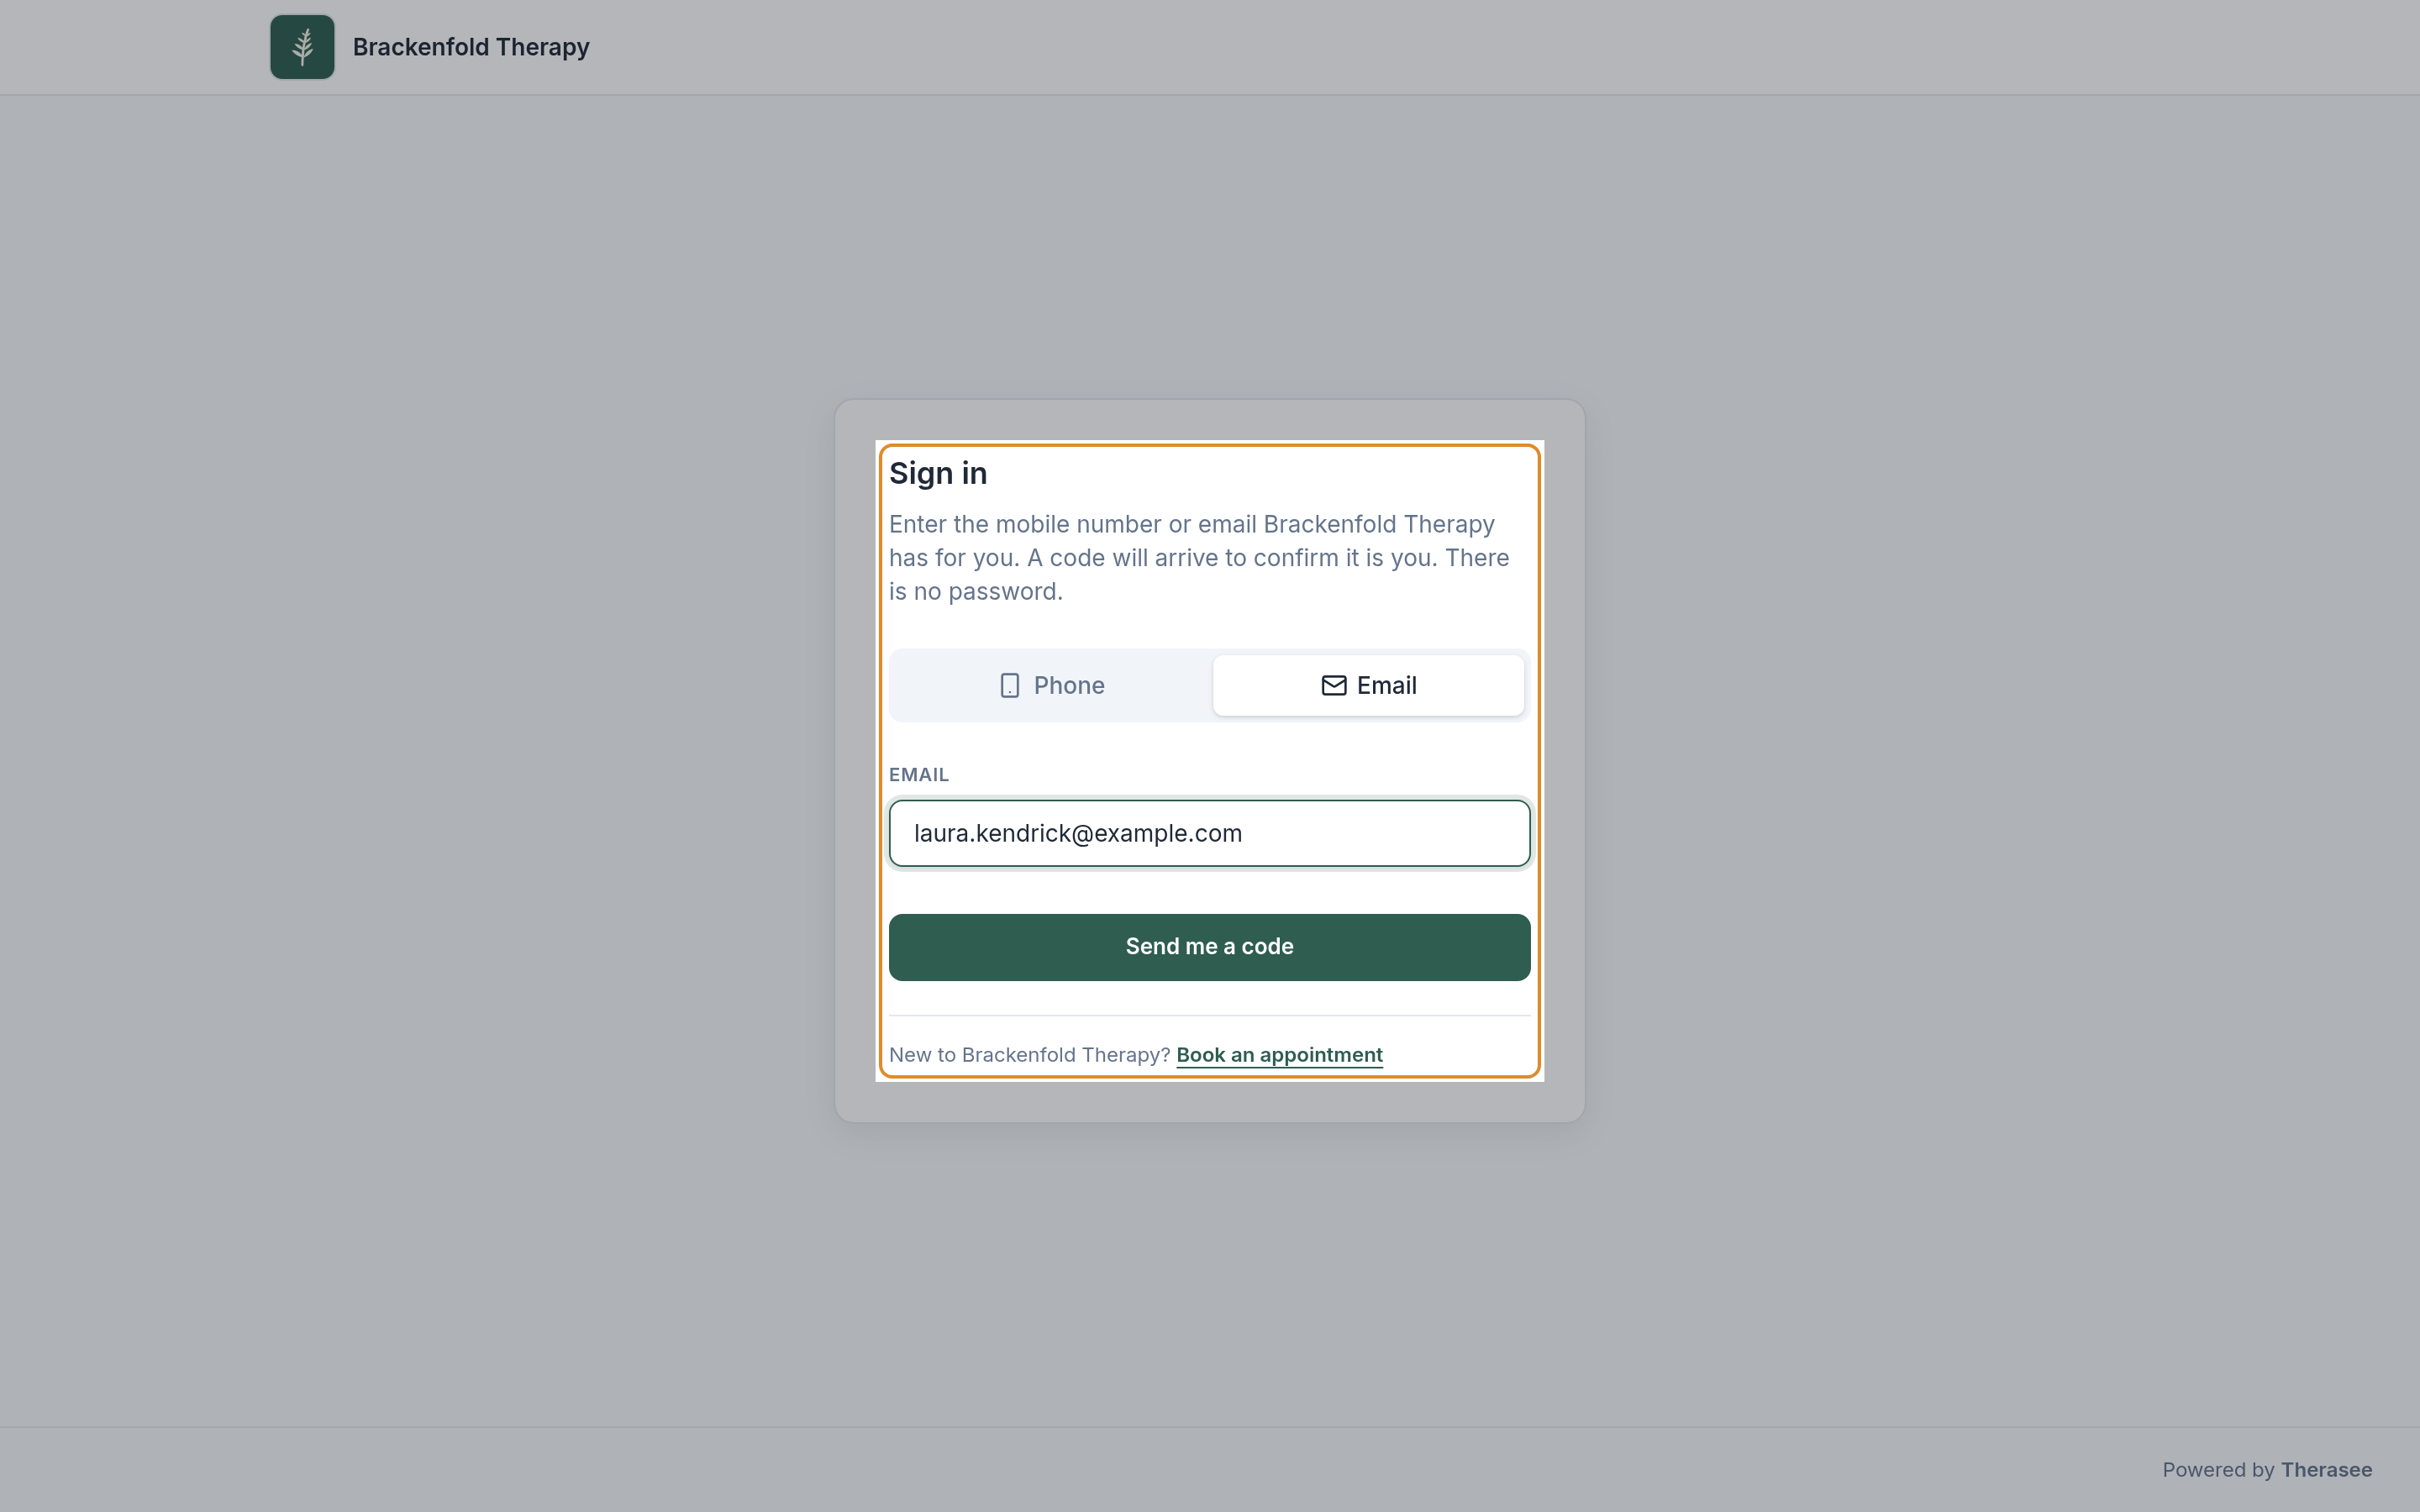
See Turning on the client portal for choosing what each person sees, and share Signing in to your client portal with clients.
Import many clients from a spreadsheet
You can add up to 400 clients at a time from a CSV file. Use a computer; the import button isn't shown on phones and tablets, and it is greyed out on the Free plan.
- On Clients, select the upload icon next to the + button (Import clients).
- Select Download CSV file for the sample, and fill in one client per row. The file needs exactly these 12 column headings and no others: First Name, Last Name, Address Line, Town, County, Postal Code, Date of Birth, Email, Phone Number, Gender, Send Invite and Status.
- Drag your file onto the upload box, or select Click to upload, then select Upload.
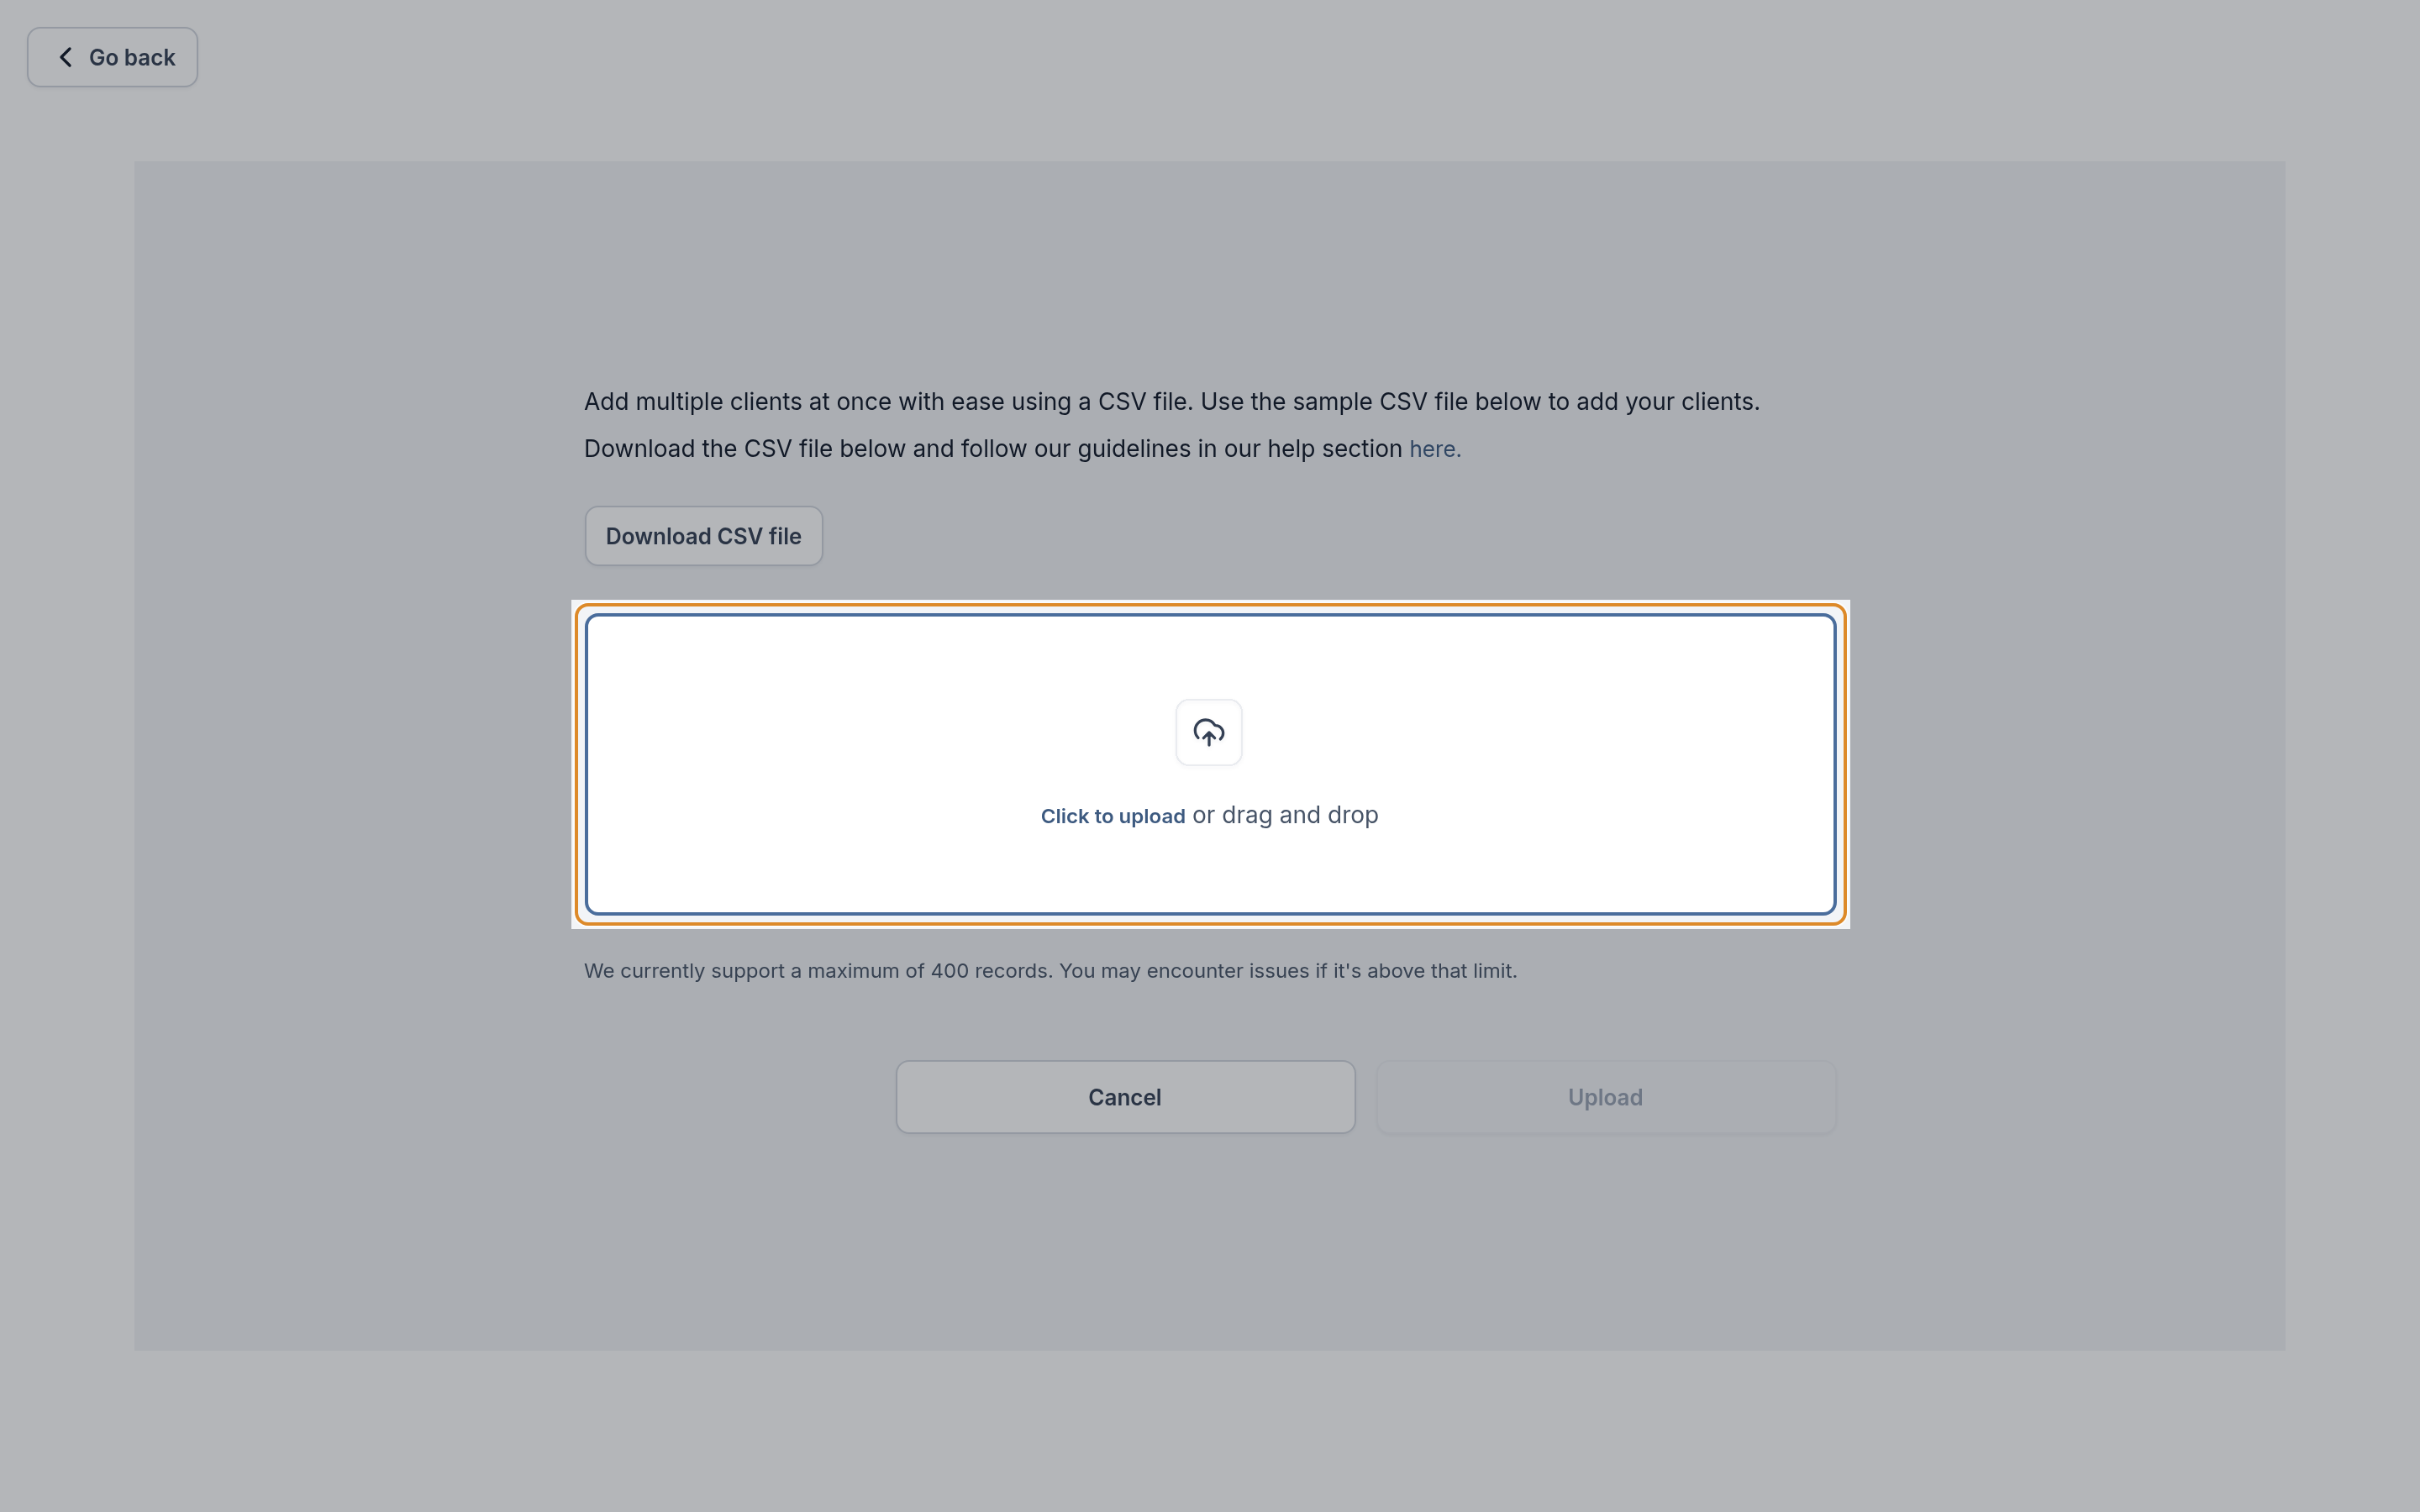
- On Review your upload, open Needs your review. Each row says what to fix, such as Invalid email. Edit or delete those rows, then select Save changes & refresh.
- Select Continue. If rows still have problems, choose Skip errors and continue to add the rest. When you see Upload complete, select Go to clients.
- First Name and Last Name are required. Write dates of birth as DD/MM/YYYY and phone numbers with the country code, for example +44 7700 900123.
- Each email and phone number can appear once, and not on an existing client.
- Status can be Active, Prospect or Inactive; blank means Active. Move clients to Waitlist from the list afterwards.
- Send Invite is Yes or No. Yes emails a portal invitation (if your portal is switched on) and needs both an email and a phone number on that row.
Importing adds individual clients. Add dependants and couples with the form, so their adults and partners are linked.
Editing a client later
- On Clients, select the client's name, or open the ⋯ menu on their row and choose Edit client.
- Select the pencil icon on the Client details card, make your changes and select Save.
An email or phone number can't be changed to one another client already uses.
Was this helpful?