Files on a client's record
Add files to a client's record, open and download them, share a file with your client, and see what your client sees in their portal.
Updated 8 November 2026
Each client's record has a Files tab for documents that belong with them: a referral letter, an assessment from a previous therapist, scanned notes from your old system, or anything you want to share with the client. This guide covers adding files, finding and opening them, sharing a file with your client, and what your client sees.
Where files live
Open the client from Clients and choose the Files tab. On a computer, the list shows each file's File name, Added date, Uploaded by, whether it was Sent to the client, and its File size, newest first. Click a column heading to sort by it. On a phone or tablet, each file is a card marked Shared or Not shared; tap a card to open the file.
To find a file, type in Search for file. It searches the names files were uploaded with.
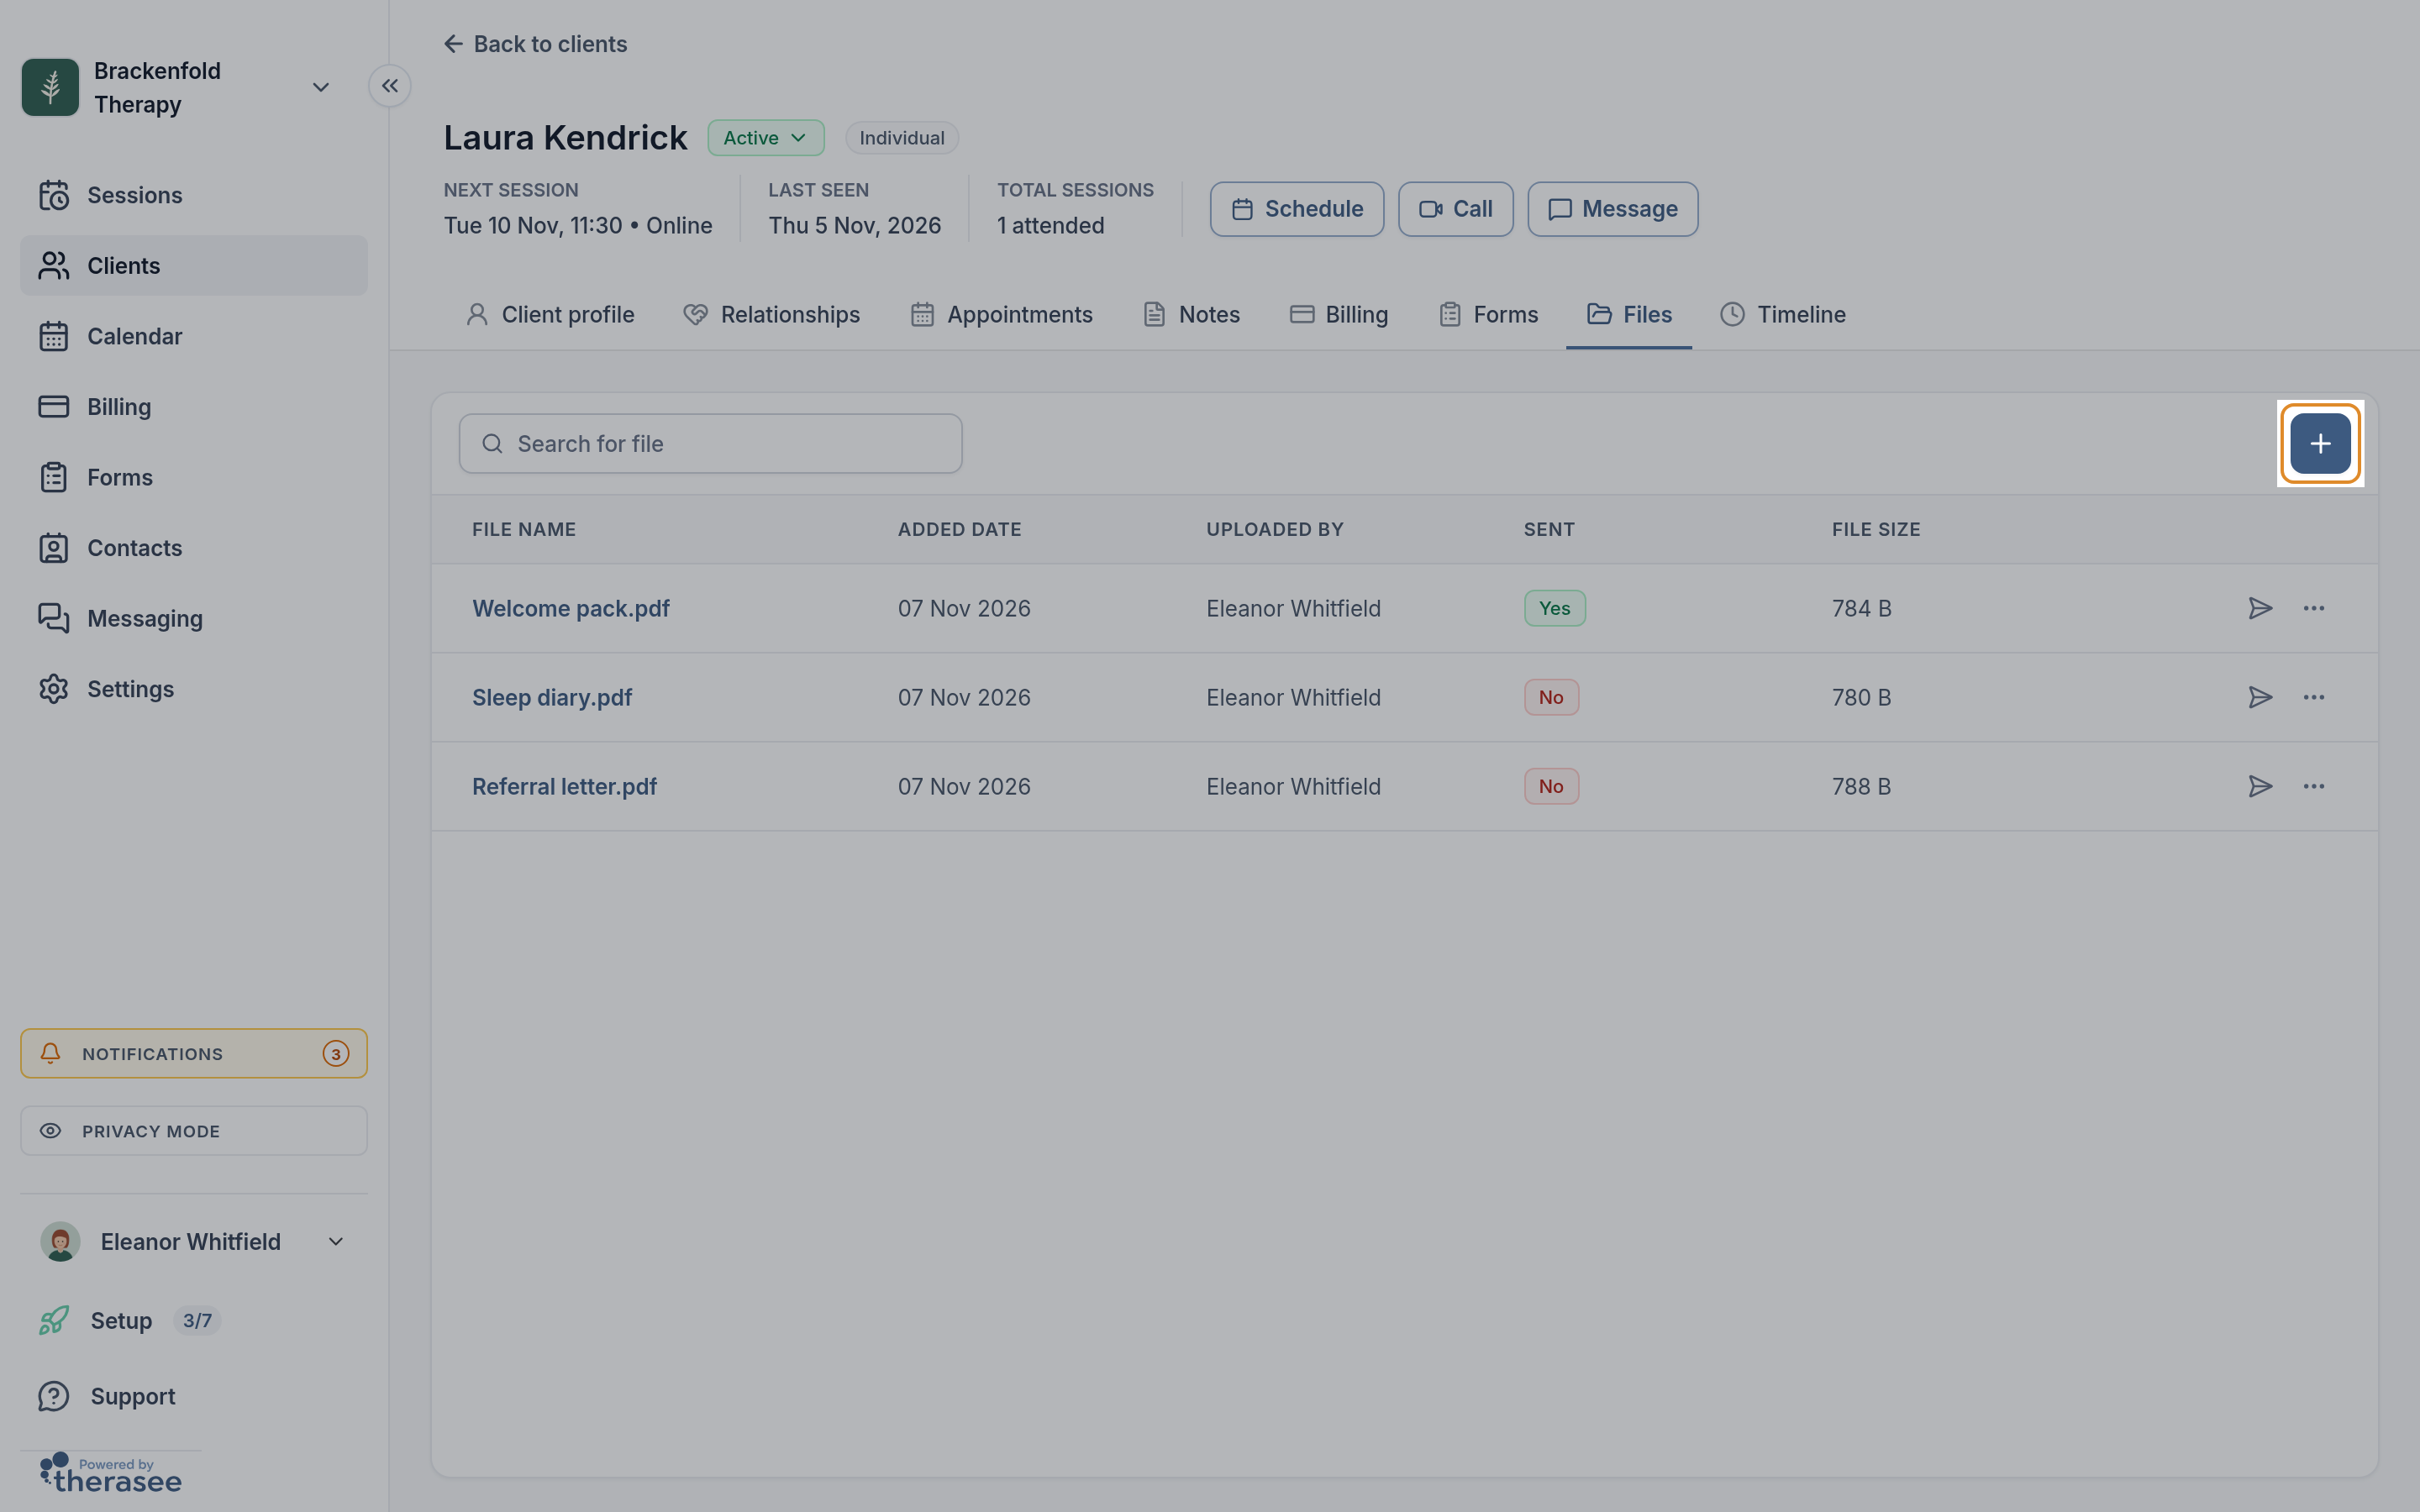
The list also includes files sent in your secure messages with this client, in either direction. Files attached to internal notes, images inside session notes and completed forms don't appear here; forms stay on the Forms tab.
Sent shows Yes when the file has been sent to the client: shared by you, or sent in a message. No means it is only in your practice.
Adding files
Adding, sharing, renaming and deleting files needs Edit access to client documents and notes (see Who can see and change files below).
- On the Files tab, click the + button at the top right (its tooltip reads Add file). The Add Files panel opens.
- Click Click to upload or drag and drop to choose files, or drag them onto the box. You can add up to 10 files at a time, each up to 100MB, of any type: PDFs, Word and Excel documents, images and more.
- To change a file's name before it uploads, click the pencil beside it, type the new name and click Rename. The file type stays the same. To leave a file out, click the X beside it.
- Click Continue. The panel shows each file's progress.
- When the upload finishes, click Finish, then Done. Clicking Cancel at that point instead of Finish removes the files you just uploaded.
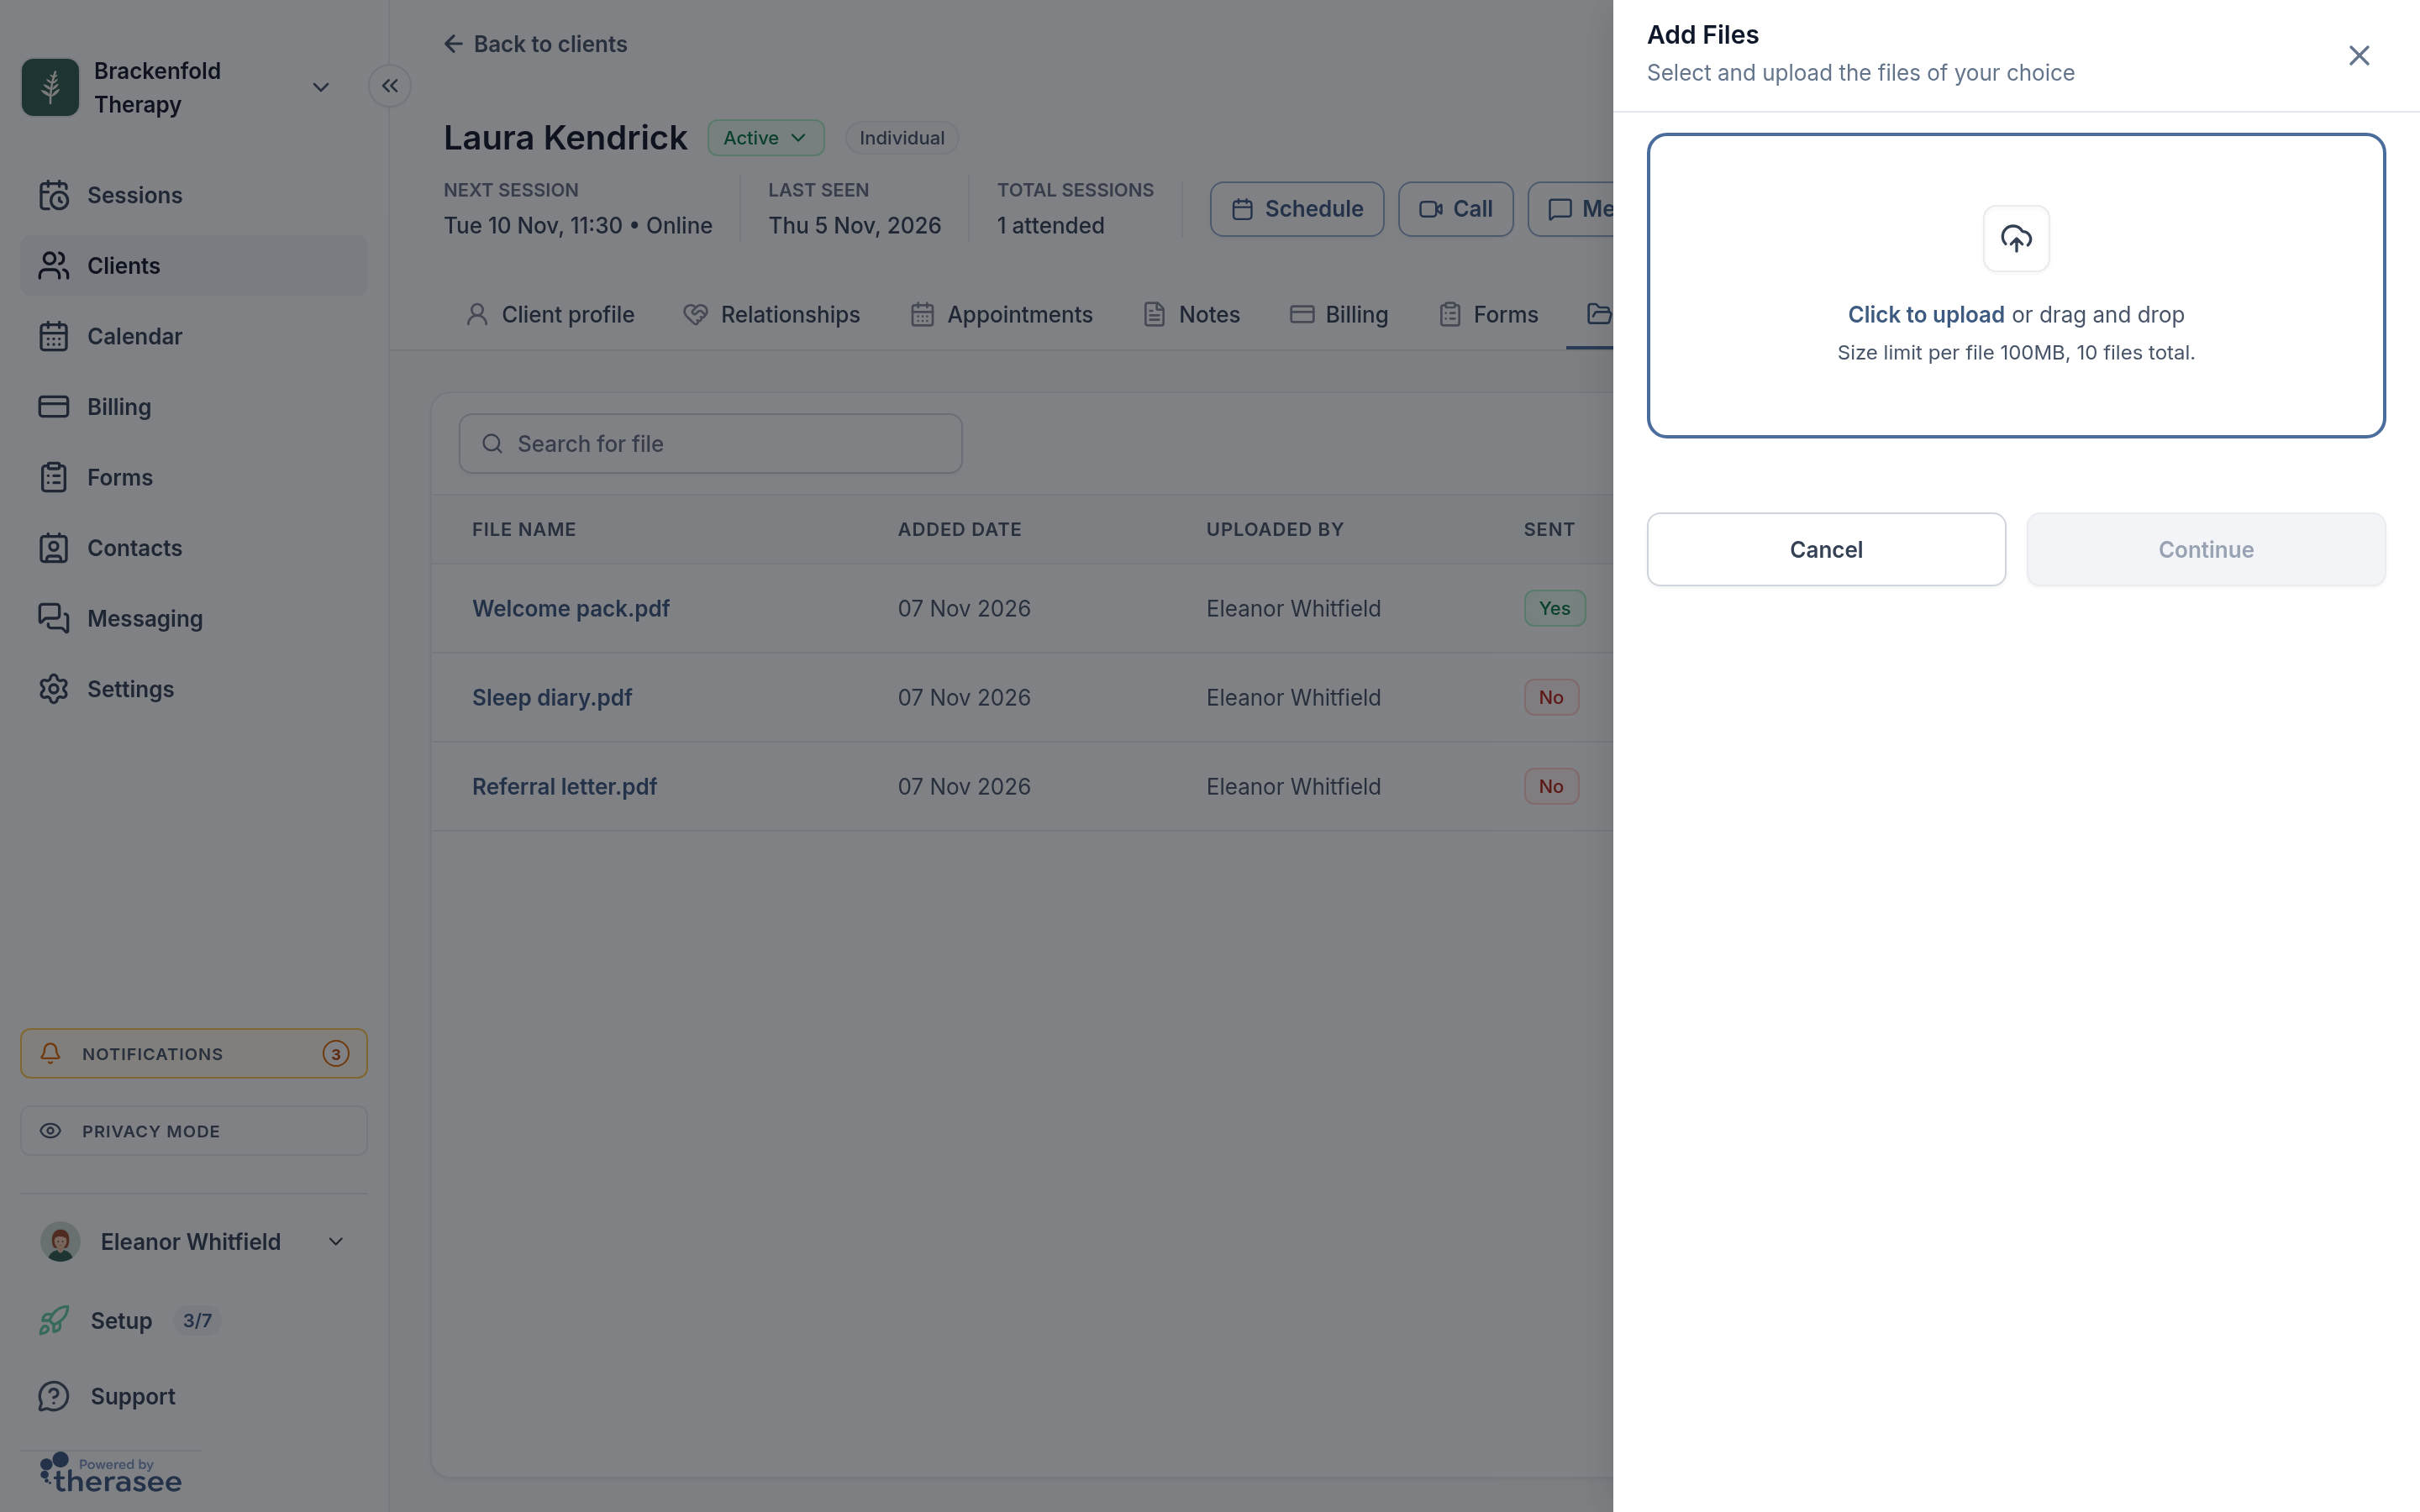
Uploaded files are private to your practice until you share them. If a file is too large, you see File too large (max 100MB). If you choose more than 10, you see Maximum file count reached.
Opening and downloading a file
Click a file's name to open it. PDFs and images (PNG, JPG, GIF and WebP) open in a viewer in the app. Other files, such as Word documents and spreadsheets, show Preview not available with a Download button. The viewer also has a download icon.
With Edit access you can also download from the ⋯ menu at the end of the row.
Sharing a file with your client
- On the file's row, click the paper-plane icon (its tooltip reads Share). The Share file panel opens.
- Check To: it starts with your client's email address. For a couple, or a client with a parent or other responsible adult, To lists those people instead; choose who should receive it, and each person gets their own email.
- Change the Subject and Email body if you like. The subject starts as "File from" and your name, and the email body says hello to your client and that the file has been shared with them.
- Click Send. You see File shared successfully.
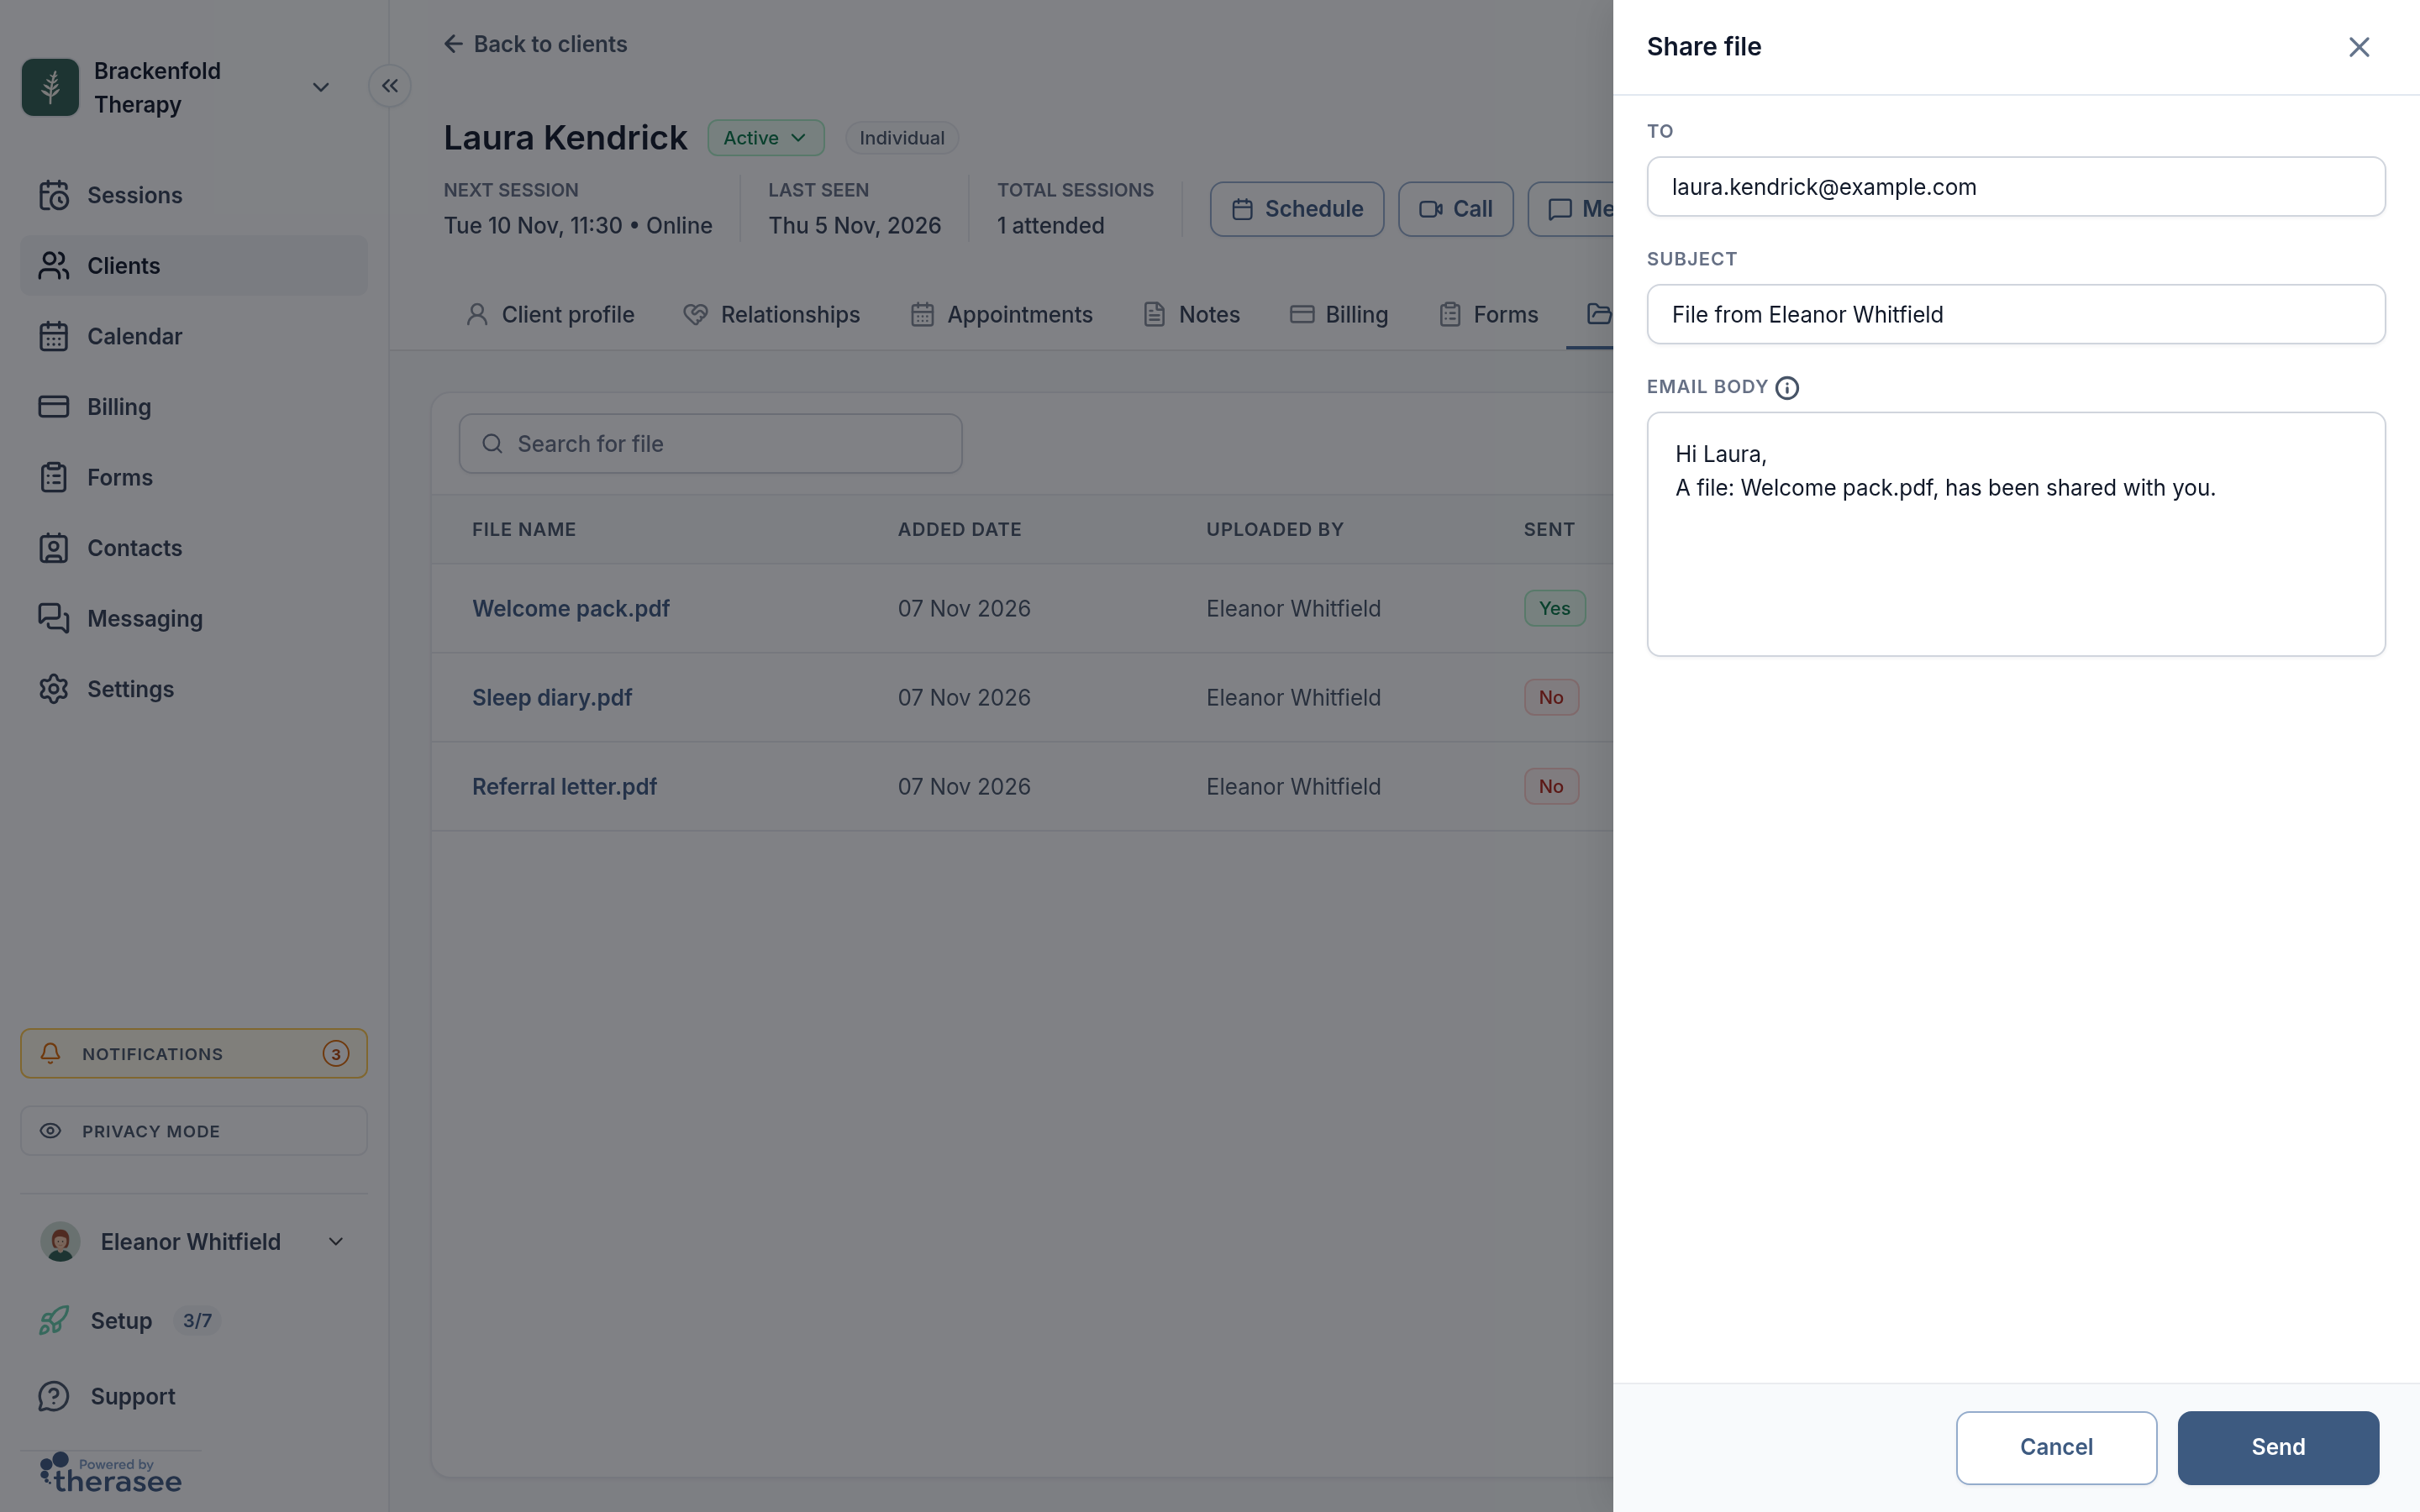
Your client gets an email from your practice with a Download button, which works for a limited time. The file is also added to their client portal, where it stays, and its Sent column changes to Yes. Sharing doesn't send a text message.
What your client sees
In the client portal, your client goes to Documents and opens the Files tab. It lists the files you have shared and the files sent in your messages, with the date each was added. They can view PDFs and PNG or JPG images in the portal, and download any file; the portal asks them to click Download a second time to confirm.
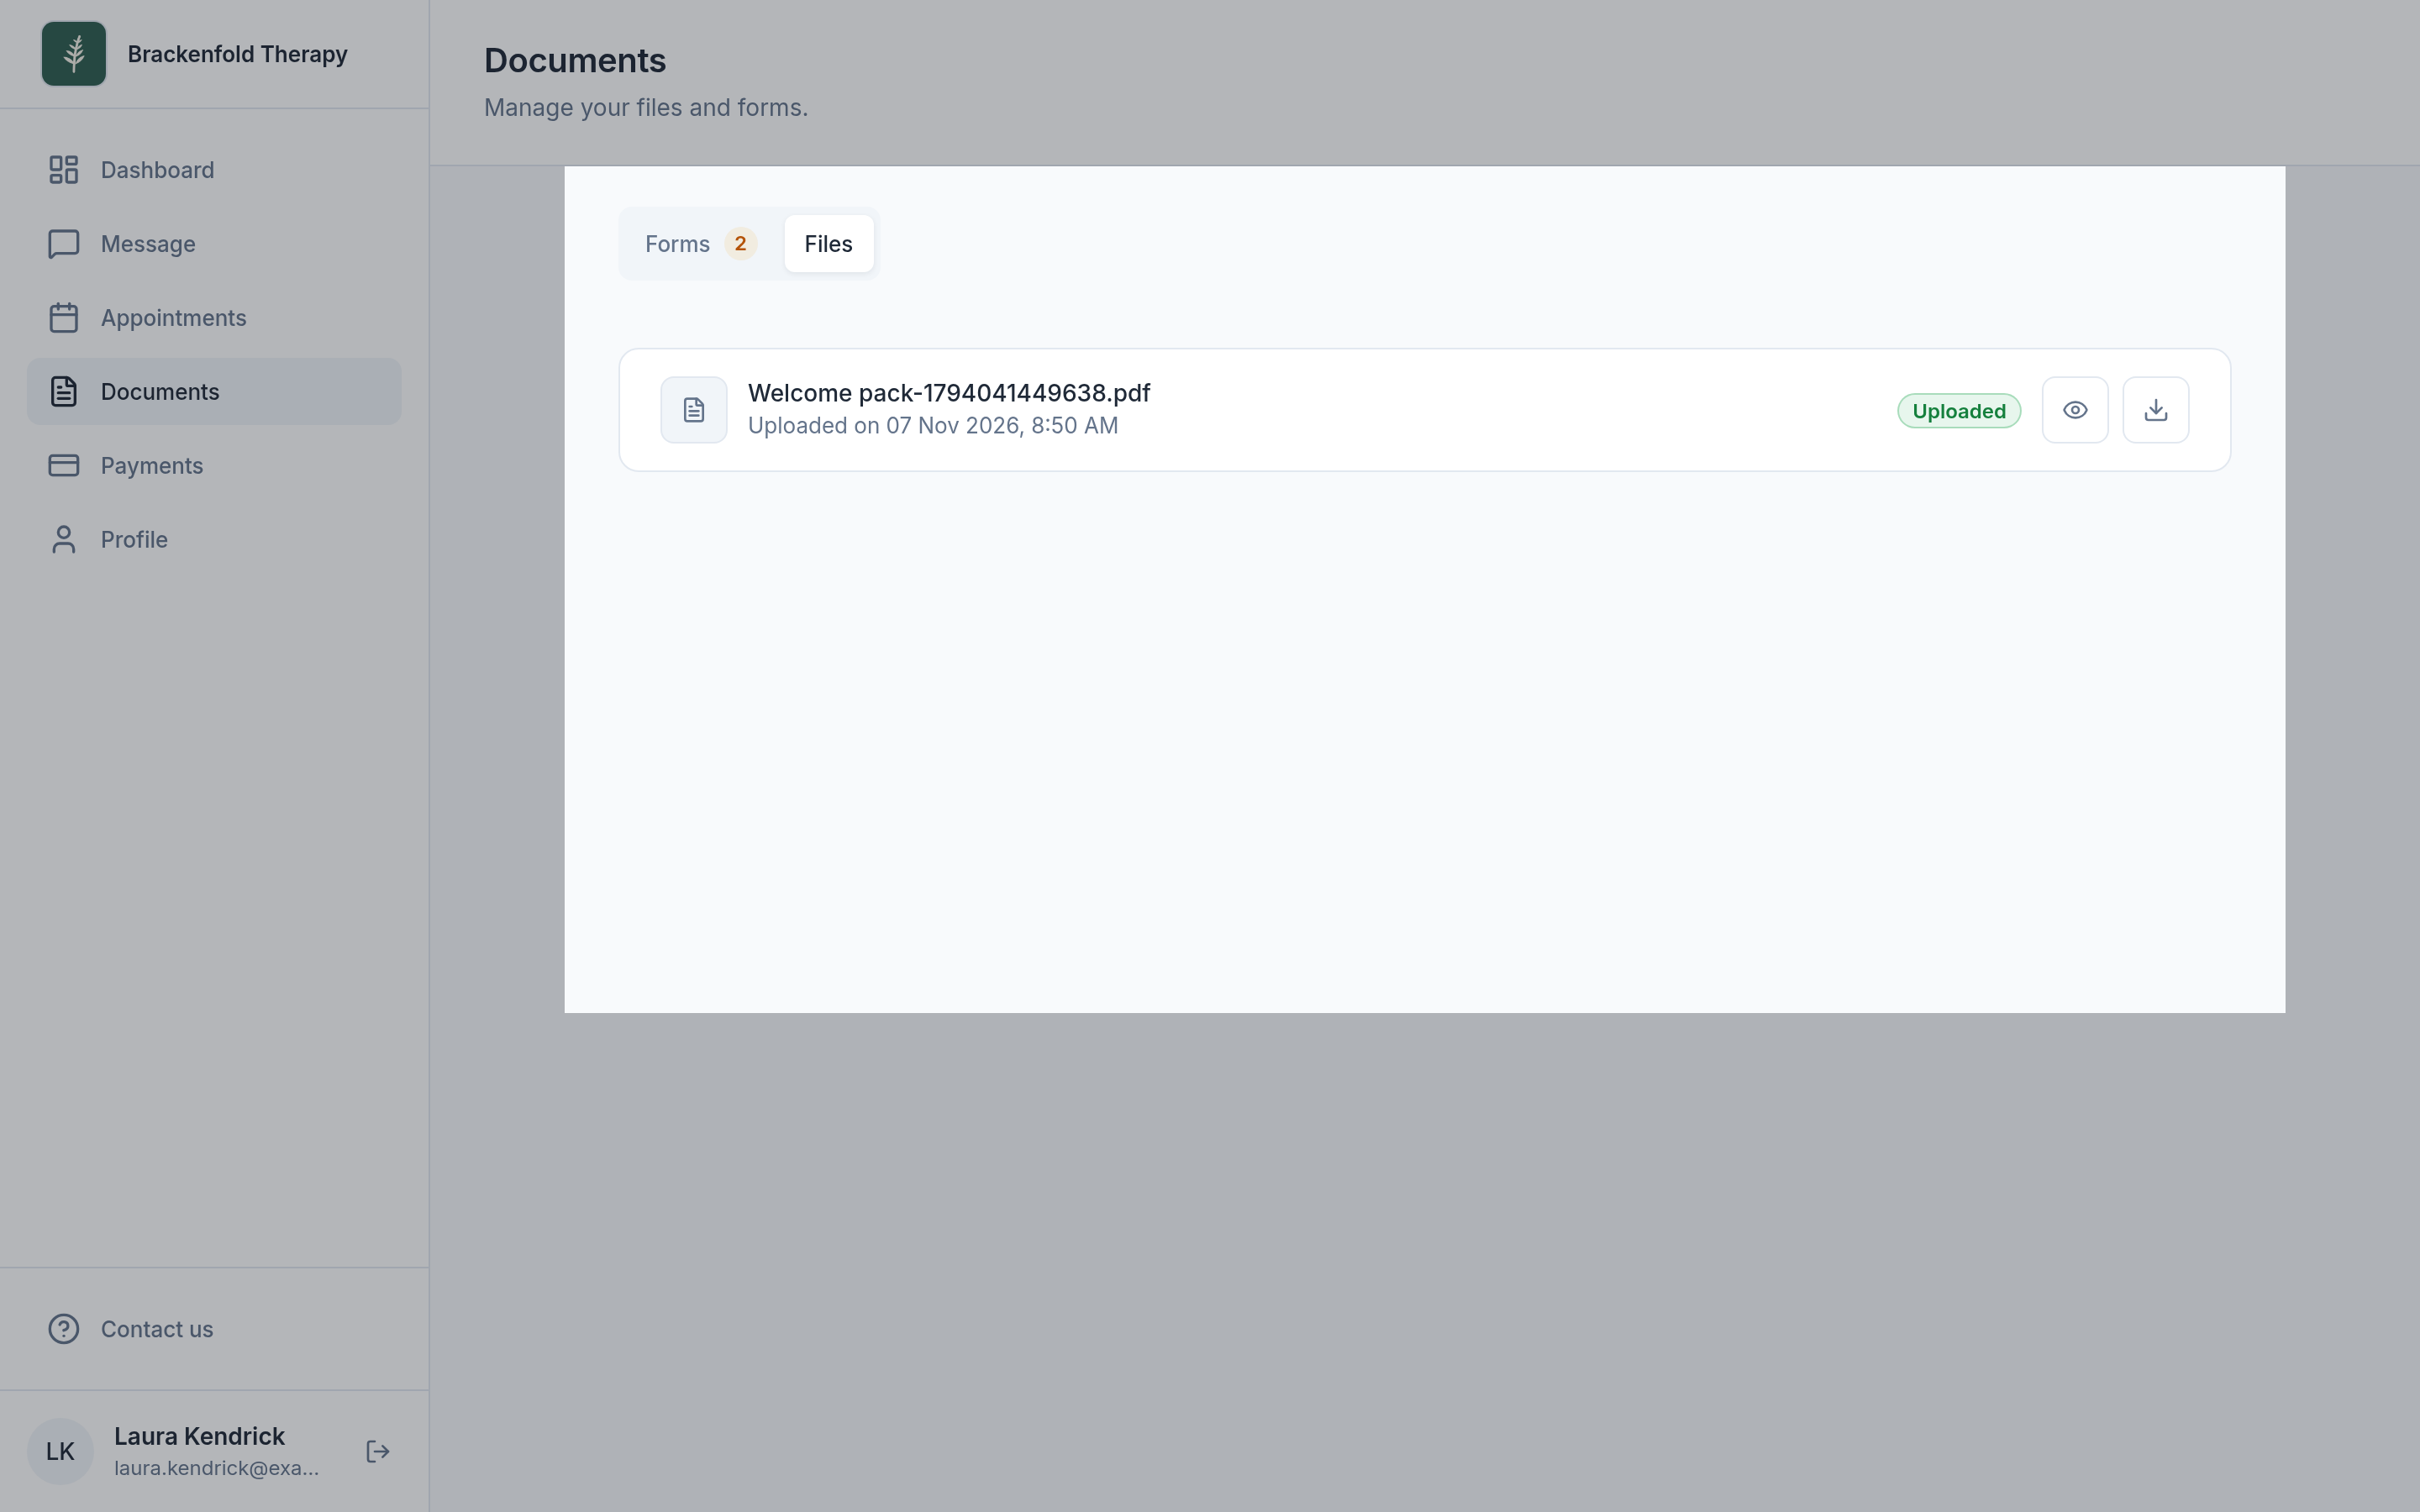
Documents shows only when the Documents section is turned on for that client. It is on by default. You can change the default in your client portal settings, and a setting on the client's own record overrides the default for that client. For more, see Turning on the client portal.
A partner in a couple, or a parent or other responsible adult, sees the files on the record they are viewing in the portal, when Documents is on for them.
Files your client sends you
Clients send files by attaching them to a secure message, up to 25MB in total per message. Those files appear in the conversation and on the client's Files tab, with Sent showing Yes, because the client has them too. For more, see Messaging a client.
Renaming and deleting
- Rename: click the pencil beside the file name, or choose Rename in the ⋯ menu. Type the new name (up to 64 characters; the file type stays the same) and click Rename. This changes the name shown on the Files tab.
- Delete: choose Delete in the ⋯ menu, then Delete file. This removes the file for good, from your practice and from the client's portal, and can't be undone.
Who can see and change files
Team members' access to files follows their Client documents & notes permission, which also covers notes and forms. With View access they can open files and download them from the viewer; with Edit access they can also add, share, rename and delete them. Assigned limits this to clients assigned to them. For more, see Adding team members and choosing what they can see.
Keeping a copy of your files
To take a copy of your clients' files, use the client export on a computer. On Clients, click the download icon at the top right (its tooltip reads Export clients), select the clients you want or Select all, and leave Attachments ticked. Each client's files go in a files folder in the download, named as on the Files tab, with spaces replaced by underscores. The export needs Edit access to all clients.
Was this helpful?